Clogged gutters can lead to expensive water damage, foundation issues, and costly repairs that could easily be prevented. Installing DIY gutter guards is one of the most effective ways to protect your home from debris buildup while reducing the frequency of gutter cleaning. With the right materials and approach, you can create a reliable barrier system that keeps leaves, twigs, and other debris out of your gutters year-round.
Before diving into installation, it’s helpful to understand your gutter system options and how professional-grade solutions compare to DIY approaches. Whether you’re looking to save money or simply enjoy tackling home improvement projects yourself, gutter guards offer an excellent return on investment through reduced maintenance and enhanced protection.
This comprehensive guide will cover:
- Why gutter guards matter for your home’s protection
- Step-by-step installation instructions for different guard types
- Material options and their pros and cons
- Professional tips for long-lasting results
- When to consider professional installation instead
🛡️ Why Gutter Guards Are Important

Gutter guards serve as your home’s first line of defense against water-related damage. Without proper protection, your gutters can quickly become overwhelmed with debris, leading to serious structural problems.
Installing gutter guards offers several key benefits for homeowners:
- Prevents water damage: Guards keep gutters flowing freely, directing water away from your foundation
- Reduces maintenance: Less frequent cleaning means more time for other projects
- Extends gutter lifespan: Protected gutters experience less wear and corrosion
- Prevents pest infestations: Eliminates standing water where mosquitoes and other insects breed
- Protects landscaping: Proper drainage prevents soil erosion and plant damage
- Saves money long-term: Reduces need for costly gutter repairs and replacements
🔧 5 Ideas For DIY Gutter Guards & Installation Steps

Creating effective gutter protection doesn’t require professional installation or expensive materials. These five DIY approaches offer reliable solutions for different budgets and skill levels.
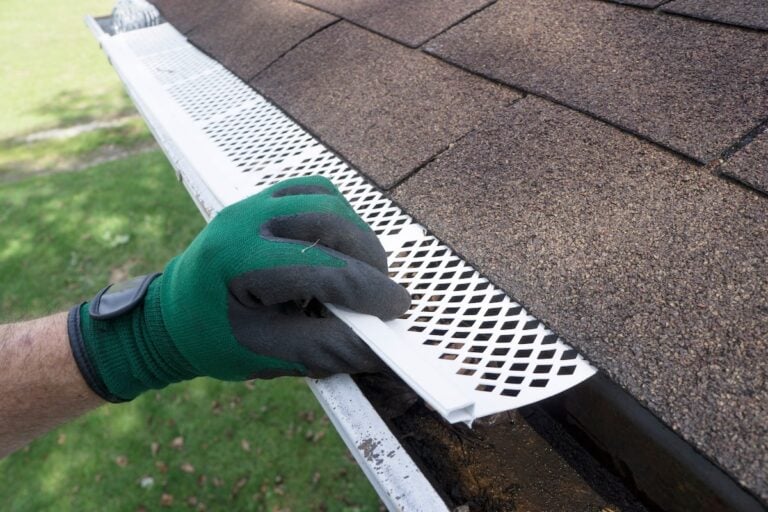
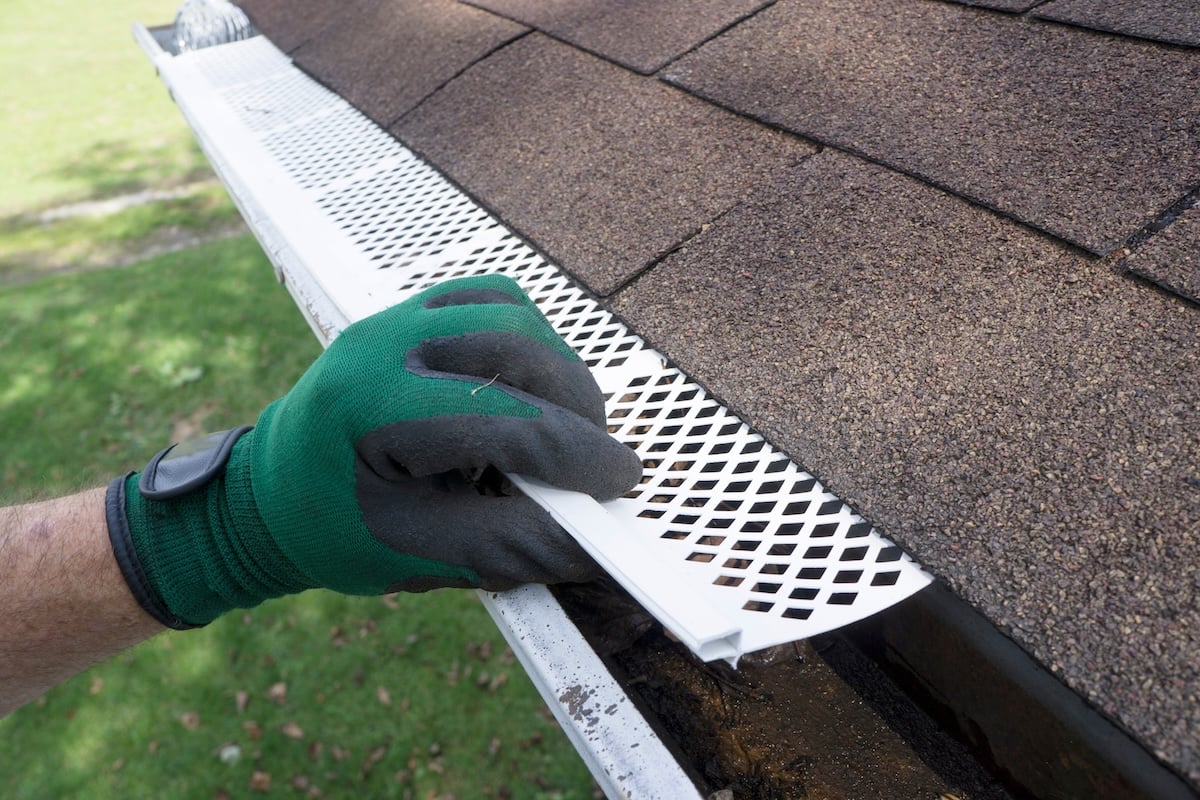
1. Mesh Screen Guards
Mesh screens are a great option for keeping debris out of gutters while maintaining proper water flow through small openings. They are lightweight, easy to install, and effective for most types of gutters.
- Cut mesh to fit: Begin by measuring the length and width of your gutter sections. Cut aluminum or plastic mesh pieces 2 inches wider than your gutters to ensure proper overhang and secure coverage. You can use metal shears or heavy-duty scissors for precise cuts.
- Secure with clips: Attach the mesh securely to your gutters using gutter clips or screws. Position the clips every 12 inches along the gutter edge to prevent sagging or movement. This ensures the mesh stays in place even during harsh weather or heavy rain.
2. Foam Insert Guards
Foam inserts are an easy, tool-free option that provides excellent debris blocking while allowing water to absorb and flow through. These guards sit directly inside the gutter, making installation quick and straightforward.
- Select proper density: Choose a medium-density foam that is sturdy enough to resist being compressed by heavy debris but still porous enough to channel water effectively. High-density foam may restrict flow, while low-density foam may collapse under weight.
- Trim for perfect fit: Measure your gutter length and trim foam pieces to match. Ensure the foam fits snugly within the gutter without leaving gaps or overhanging the edges. Proper trimming prevents debris from slipping through open spaces and ensures maximum protection.
3. Brush Guards
Brush guards use cylindrical bristles to form a barrier that catches leaves and twigs on top while allowing water to pass through underneath. These are a great option for easy maintenance and quick removal of debris.
- Position bristles upward: Place the brushes into the gutters with their bristles facing upward. The upright bristles trap falling leaves, pine needles, and other debris while keeping the water flow unobstructed.
- Overlap sections slightly: When installing multiple brush sections, overlap them slightly to ensure there are no gaps where debris could collect. This setup creates a seamless barrier across the length of your gutters, providing consistent protection.
4. Vinyl Gutter Guards
Vinyl guards are solid panels with pre-formed slots or holes designed to block debris while allowing rainwater to flow through. They are durable, cost-effective, and suitable for moderate debris loads.
- Pre-drill mounting holes: To prevent cracking during installation, mark and pre-drill holes every 18 inches along the vinyl guard. This step makes attaching the guards easier and reduces stress on the material.
- Use weather-resistant fasteners: Attach the vinyl guards using stainless steel screws or other weather-resistant fasteners to prevent rust or staining over time. Secure each guard firmly to ensure they can withstand heavy rain and wind.
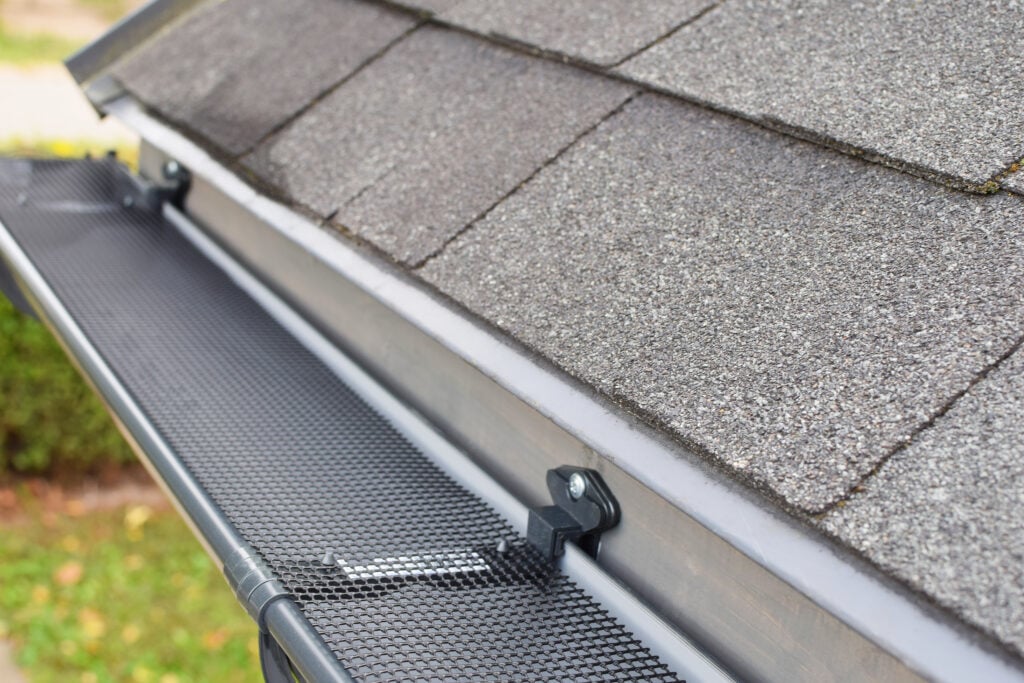
5. DIY Perforated Metal Guards
For those who prefer a customizable solution, perforated metal guards offer professional-grade protection at a lower cost. With the right tools, you can create a durable and effective guard tailored to your gutters.
- Create drainage holes: Use a drill to create ¼-inch holes spaced every 2 inches across the metal sheet. These holes provide effective water drainage while keeping out leaves and other debris. Be consistent with spacing for optimal performance.
- Form slight slope: To enhance water flow, bend the metal guards slightly to match your roof pitch. This slope ensures rainwater flows smoothly into the gutters, reducing the risk of overflow or pooling. Secure the guards firmly in place to maintain their shape and effectiveness.
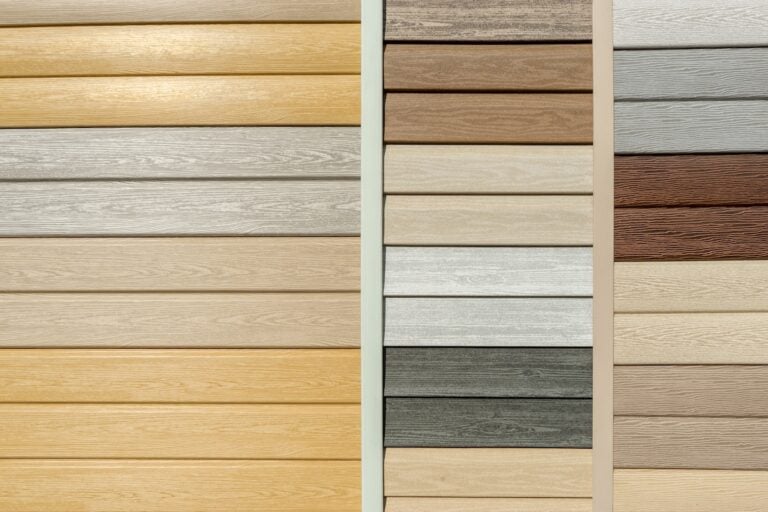
⚙️ Choosing the Right Materials and Tools
Selecting appropriate materials ensures your DIY gutter guards perform effectively for years to come. Different guard types work better in specific situations, so understanding your home’s needs helps guide your choice.
Material Considerations:
- Aluminum mesh: Lightweight, rust-resistant, and easy to cut
- Plastic screens: Budget-friendly but may become brittle in extreme temperatures
- Stainless steel: Most durable option, ideal for heavy debris areas
- Foam inserts: Quick installation but require more frequent replacement
Essential Tools:
- Measuring tape: Accurate measurements prevent waste and ensure proper fit
- Tin snips or utility knife: Clean cuts create professional-looking results
- Drill with bits: Necessary for securing most guard types
- Safety equipment: Ladder, gloves, and safety glasses protect during installation
Weather Resistance Factors:
Consider your local climate when selecting materials. Areas with heavy snow need guards that won’t collapse under weight, while regions with intense sun require UV-resistant options that won’t degrade quickly.
🏠 Taking Action for Better Home Protection
Installing DIY gutter guards represents a smart investment in your home’s long-term protection and value. The time you spend on this project will save countless hours of future maintenance while preventing potentially expensive water damage repairs.
Ready to protect your home with professional-grade gutter solutions? The experts at Best Exteriors offer comprehensive gutter installation and guard systems designed for Ohio’s challenging weather conditions. Our team can help you choose the perfect solution for your specific needs and ensure proper installation for maximum effectiveness.