Gutters
Your Trusted Gutter Installation Company in Ohio
Tired of dealing with leaky, poorly installed rain gutters that leave your home vulnerable to water damage? At Best Exteriors, we understand the frustration of subpar workmanship and unreliable service. That’s why our Ohio-based team delivers expert gutter installation designed to protect your home effectively. With a reputation for trust and precision, we install gutters with unmatched craftsmanship and care.
-
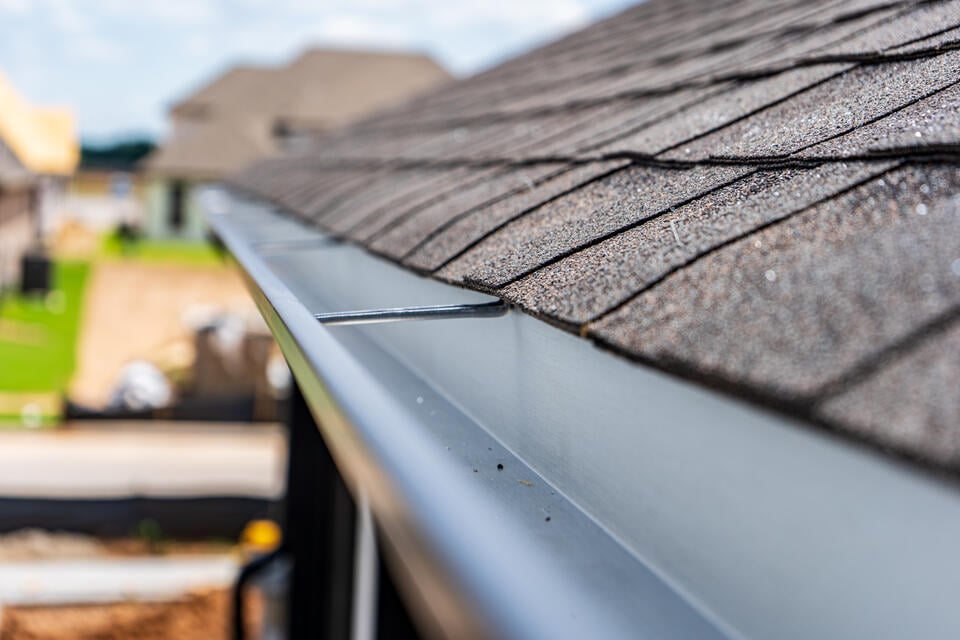
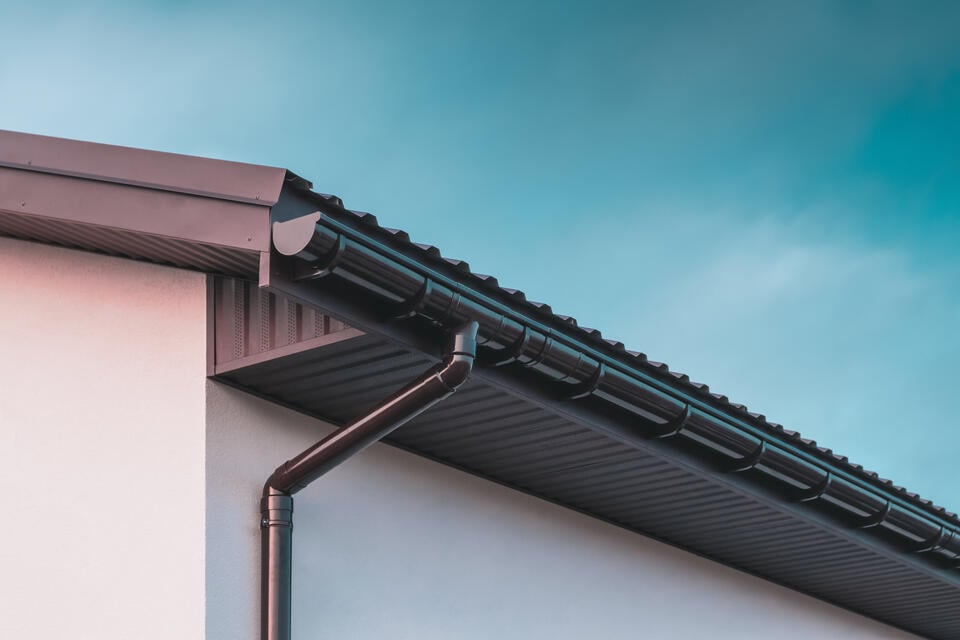
 High quality gutters for superior protection
-
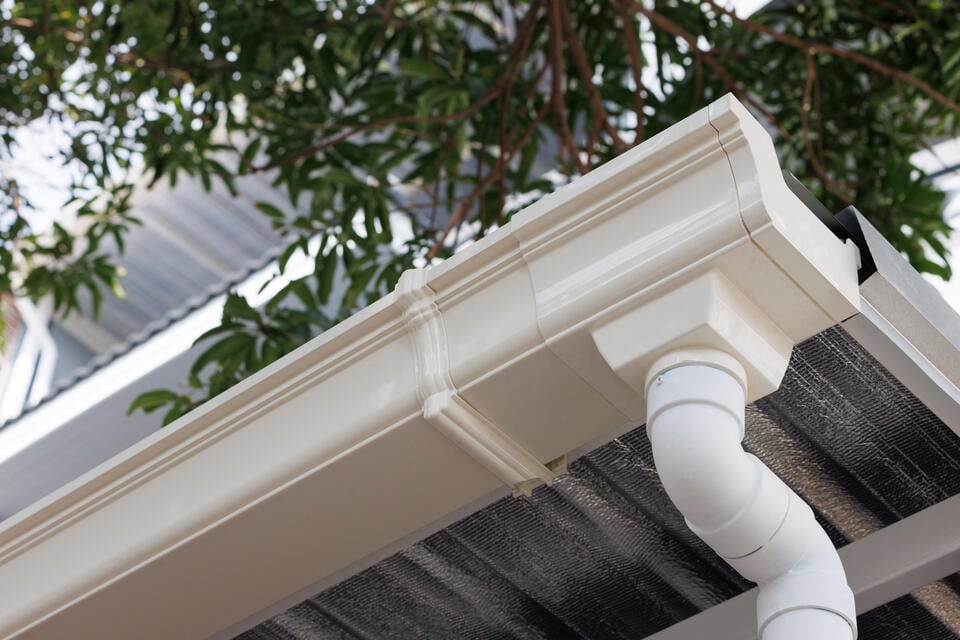
 Discounts available on seamless gutters with gutter covers with the purchase of new roof
-
 We fix clogs, sags, poor alignment and poor water flow
Get
Started

Our Trusted Partners: