Roofing problems can strike at any moment, but few issues are as common or concerning as nail pops on roof surfaces. These seemingly minor problems can quickly escalate into major headaches if left unaddressed, potentially leading to water damage, structural issues, and costly repairs.
When roofing nails begin to back out of their original positions, they create vulnerabilities that compromise your roof’s integrity. Understanding how to properly address this issue can save you thousands of dollars in potential damage. If you’re experiencing extensive roofing problems beyond simple nail pops, consider reaching out to Best Exteriors’ professional roofing services for expert assistance.
This comprehensive guide will walk you through everything you need to know about fixing nail pops on your roof. Here’s what we’ll cover:
- Why nail pops occur and their potential impact on your home
- Step-by-step instructions for safely repairing nail pops
- Essential tools and materials you’ll need for the job
- Prevention strategies to avoid future nail pop issues
- When to call in professional roofing contractors
🚨 Why Nail Pops on Roof Are Important to Address

Ignoring nail pops might seem tempting, especially when they appear minor, but these small issues can lead to significant problems over time. Understanding why prompt attention matters can help you protect your investment and maintain your home’s structural integrity.
Nail pops create entry points for moisture, which is one of your roof’s greatest enemies. Even tiny gaps around loose nails can allow water to seep underneath shingles, eventually reaching your roof deck and potentially your home’s interior.
The importance of addressing nail pops quickly includes several key benefits:
- Prevents water damage: Sealing entry points before moisture infiltration occurs
- Maintains structural integrity: Keeping your roof deck secure and properly fastened
- Preserves energy efficiency: Eliminating gaps that can affect your home’s insulation
- Avoids costly repairs: Addressing small issues before they become major problems
- Protects your warranty: Many roofing warranties require prompt attention to maintenance issues
🔧 7 Steps: How To Fix When Nail Pops On Roof

Repairing nail pops requires careful attention to detail and proper safety precautions. This systematic approach will help you address the problem effectively while ensuring your safety throughout the process.
Before beginning any roof work, always prioritize safety by working only in dry conditions and using appropriate safety equipment. Here’s your complete repair guide:
1. Safety Preparation and Assessment
Before starting any roof repair project, safety should always be your top priority. Begin by gathering all necessary safety equipment, including gloves, a safety harness, and non-slip shoes, to minimize the risk of accidents. Assess the severity of the nail pop problem to determine the scope of the work needed.
- Always work during dry weather conditions to ensure a safe and stable surface. Wet or slippery roofs can lead to dangerous accidents.
- Ensure you have adequate lighting, whether it’s natural daylight or additional portable lights, to see clearly and avoid mistakes.
- Use a sturdy, well-maintained ladder with proper positioning. The ladder should be set on an even surface, and you should follow the three-point contact rule (two feet and one hand or two hands and one foot on the ladder at all times). Have someone spot you for added safety and to hand you tools as needed.
2. Gather Required Tools and Materials
Having the right tools and materials on hand before starting will save time and make the repair process smoother and more effective. A well-prepared toolbox ensures you’re ready for any unexpected challenges during the repair.
Essential Tools:
- A hammer to drive nails securely into the roof structure.
- Roofing nails, preferably galvanized or corrosion-resistant, for durability.
- A pry bar to gently remove or lift materials without causing damage.
- A utility knife for precise cutting of shingles or roofing material.
- Measuring tape to ensure accurate placement of repairs and materials.
Materials Needed:
- Roofing cement to seal nail holes and reinforce shingles against water infiltration.
- Replacement shingles in case any existing ones are damaged or beyond reuse.
- A caulk gun for precise application of roofing cement or sealant.
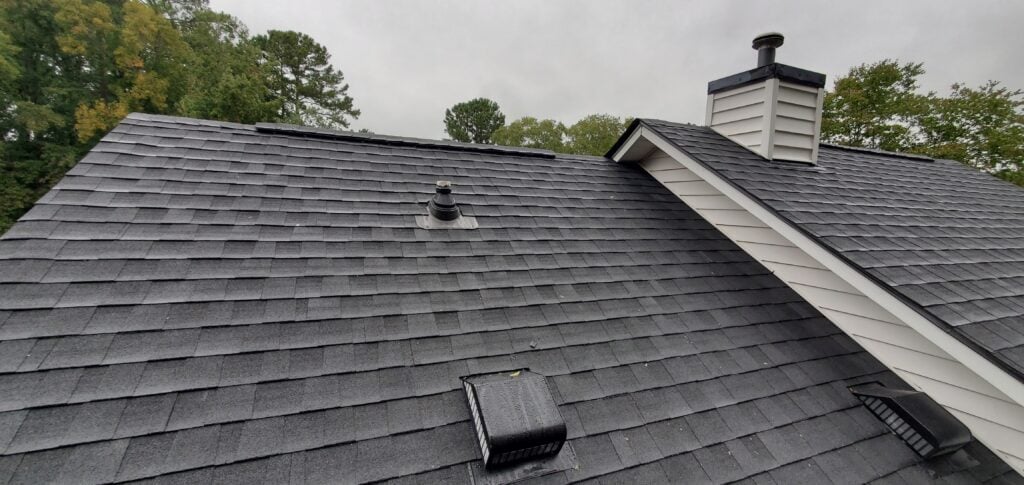
3. Locate and Mark All Nail Pops
Systematically identifying every nail that needs attention ensures you don’t overlook any issues, which could lead to future problems. This step is critical for a thorough and lasting repair.
- Walk the roof carefully and methodically, observing each section for nail heads that are sticking out or causing bulges in the shingles. Take your time to avoid missing any trouble spots.
- Use chalk or painter’s tape to mark each protruding nail as you go. This ensures you stay organized and can systematically address each issue.
- Pay special attention to areas around roof penetrations, such as vents, chimneys, and skylights, as these spots experience frequent movement and are prone to nail pops. Additionally, check edges and corners where the roof structure may flex over time.
4. Remove the Protruding Nail
Carefully removing the loose nail is essential to avoid causing further damage to the roof. Proper removal techniques will preserve the integrity of the surrounding shingles and roof decking.
- Use a pry bar to gently lift and extract the loose nail. Start by positioning the pry bar under the nail head and applying steady, even pressure. Work slowly to avoid tearing or cracking the shingle.
- If the nail resists being removed, use a hammer to lightly tap the pry bar for extra leverage, being cautious not to damage the materials around the nail.
- Once the nail is removed, clean out the hole and surrounding area to remove any debris or leftover roofing material. This step ensures a clean surface for the next stage of repair.
5. Install New Roofing Nail in Proper Location
Proper placement of the replacement nail is crucial for securing the roofing materials and preventing future issues. A well-driven nail ensures long-lasting durability and stability.
- Position the replacement nail approximately 1-2 inches away from the original hole to ensure it anchors into solid wood. Avoid placing the new nail in the same weakened spot.
- Use a hammer to drive the nail securely through the shingle and into the roof decking, applying steady force to avoid bending the nail. Make sure the nail head is flush with the shingle surface but not overdriven, as this could damage the shingle.
- Double-check that the nail is properly seated and provides a firm hold to keep the roofing materials in place, even in harsh weather conditions.
6. Seal the Original Hole
Sealing the old nail hole is a vital step to prevent water from seeping into the roof and causing damage. Proper sealing protects the roof from leaks and extends its lifespan.
- Apply a generous amount of roofing cement to the original nail hole using a caulk gun or similar applicator. Be sure to fill the hole completely to block any potential water entry.
- Smooth the roofing cement with a putty knife or gloved finger to create a watertight seal. Ensure the cement lays flat against the shingle surface to prevent debris from collecting and causing future issues.
- Allow the cement to dry according to the manufacturer’s instructions before proceeding to ensure a durable seal.
7. Final Inspection and Cleanup
A thorough final inspection ensures all repairs are complete and your roof is in optimal condition. Cleaning up afterward prevents potential roof damage and keeps your workspace safe.
- Carefully inspect all repaired areas to make sure every nail is properly seated, and every hole is sealed with roofing cement. Look for any missed spots or signs of incomplete work.
- Check the roof’s overall condition, including nearby shingles and materials, to ensure no additional issues need attention.
- Remove all tools, materials, and debris from the roof surface to avoid accidental damage or hazards. Secure the ladder and confirm all equipment is stored safely.
By following these expanded steps, you’ll effectively repair nail pops and reinforce your roof to withstand the elements for years to come.
💡 Preventing Future Nail Pop Issues
Understanding the root causes of nail pops helps you implement effective prevention strategies. Many factors contribute to this common roofing problem, and addressing them proactively can save you time and money.
Temperature fluctuations cause roofing materials to expand and contract, gradually working nails loose over time. Wind uplift, especially during storms, creates upward pressure that can force nails to back out of their holes.
Proper Installation Techniques:
Quality workmanship during initial installation significantly reduces nail pop occurrences. Ensure contractors use appropriate nail lengths and spacing according to manufacturer specifications.
Regular Maintenance Schedule:
Conducting seasonal roof inspections allows you to catch nail pops early before they cause damage. Look for protruding nail heads, especially after severe weather events.
Material Quality Considerations:
Higher-grade roofing nails with better holding power resist backing out under normal conditions. Ring-shank or screw-shank nails provide superior grip compared to smooth-shank alternatives.
Professional Installation Benefits:
Experienced contractors understand proper nailing patterns, nail placement, and material compatibility. They also typically offer warranties that cover workmanship issues like premature nail pops.
🏠 Ready to Protect Your Home?
Addressing nail pops on your roof promptly protects your home from water damage and maintains your roof’s structural integrity. While minor repairs can often be handled by confident DIY homeowners, extensive issues or safety concerns warrant professional attention.
Remember that proper safety equipment and techniques are essential for any roof work. When in doubt, consulting with experienced professionals can save you time, money, and potential injury.
Don’t let nail pops compromise your home’s protection. Contact Best Exteriors today for a free consultation and let our certified roofing experts ensure your roof provides reliable protection for years to come.