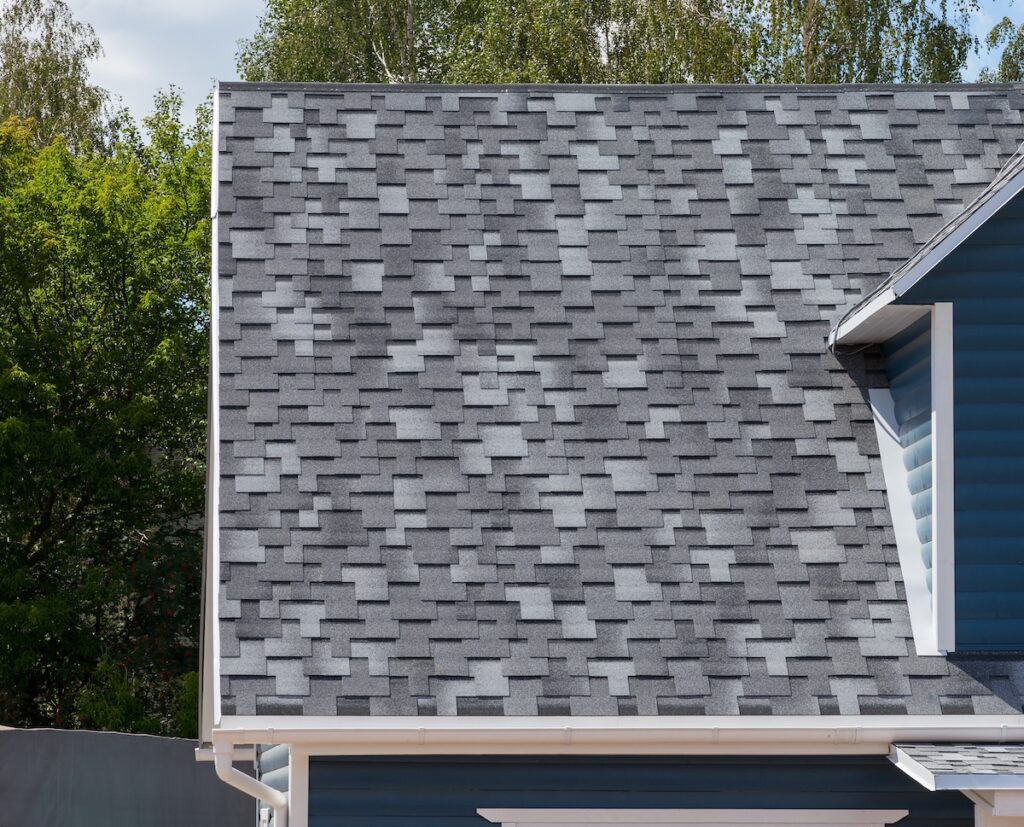
It’s disheartening to invest in a new roof only to notice your shingles aren’t laying flat. Uneven shingles can lead to aesthetic issues and are often more than just a cosmetic concern—they can signal underlying vulnerabilities. These issues may also result in potential functional problems like leaks or compromised durability, and can even cause roof damage if not addressed promptly. Don’t worry—we’re here to address your concerns and guide you through the causes and solutions.
Be sure to notice shingles that are not lying flat, as identifying these early is the first step in addressing the problem.
This blog will cover:
- Common reasons why new roof shingles not laying flat
- A step-by-step guide on what to do if they don’t improve
- Proactive tips to ensure proper shingle installation next time
🤔 Why Aren’t My New Roof Shingles Lying Flat?
Several factors can cause shingles to not lay flat after installation. Some relate to installation techniques, while others are influenced by materials or external conditions.
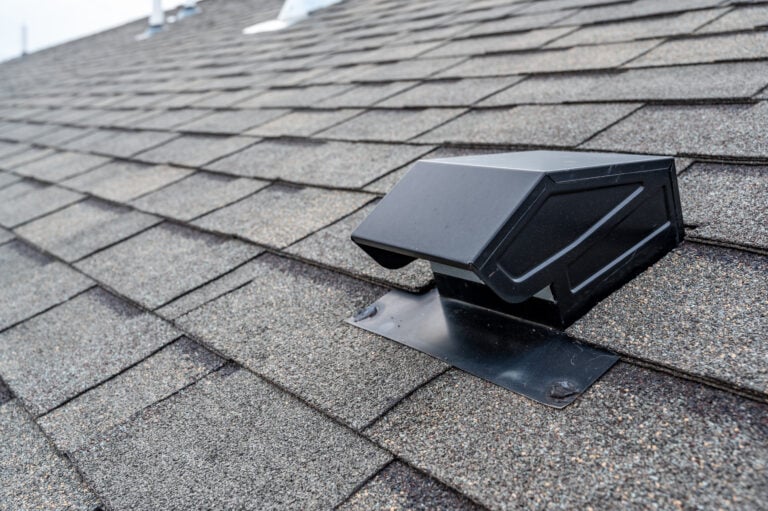
- Improper installation, such as incorrect nailing or spacing, or other installation errors, can prevent shingles from lying flat.
- Recently installed or brand new shingles may need time to settle, especially in cold weather, with warmth helping them conform naturally.
- Shingles stored in damp or humid conditions before installation can warp, resulting in misshapen shingles that do not sit properly.
- Underlying roof issues, like an uneven deck or poor ventilation, can cause shingles to appear uneven.
- Defective asphalt shingles from manufacturing issues are rare but can prevent shingles from being able to lie flat, though these are usually covered by warranties.
Understanding these root causes is essential for addressing why shingles may not lie flat after installation.
✅ 6 Steps to Take If New Roof Shingles Are Not Lying Flat
When it seems like your shingles won’t settle properly, here’s your step-by-step plan:
1. Inspect the Problem Spots
Start by carefully inspecting the areas of the roof where shingles appear uneven. Determine if the problem is isolated to one specific location or scattered across multiple areas of the roof. Concentrated issues might point to localized damage or poor installation in that section, while widespread unevenness could indicate a larger problem. Look closely for signs such as puckering, visible nails, or curled edges, as these can provide clues about the root cause of the problem. A thorough inspection by a professional roofer is important to identify all problem areas and ensure nothing is missed.
2. Determine the Timing
Consider how long it has been since the new asphalt shingles were installed. If the roof installation was recent and the weather has been cold, the new asphalt shingles might just need time to settle. Cold temperatures can make shingles less flexible, and they may not lay completely flat until they are exposed to warm weather. In warm weather, it can take a few weeks for the shingles to fully settle and lie flat. Patience could be key if this is the situation, as the issue might resolve on its own once the conditions change.
3. Review Installation Practices
If the uneven shingles persist, it’s worth reviewing how they were installed, as installation issues could be a possible cause. If you have access to your roofing contractor, reach out to confirm the specific installation practices they used. Issues such as improper nailing techniques, incorrect spacing between shingles, or a failure to follow manufacturer guidelines could all contribute to unevenness. Understanding whether the shingles were installed correctly and properly installed can help identify whether the problem stems from the process or another factor.
4. Assess for Underlying Issues
It’s important to check for any underlying issues that might be causing the unevenness. Inspect the roof decking for imperfections, damage, or signs of an uneven roof surface, as these can prevent shingles from lying flat. Also, examine the roof underlayment for problems such as warped underlayment, which can contribute to an uneven roof surface and further complications. Additionally, ensure that the roof has proper ventilation, as inadequate ventilation can lead to humidity buildup, which, over time, may warp the shingles or cause them to curl. Be aware that structural issues or other structural problems, such as sagging or inadequate support, can also be underlying causes of shingle unevenness. Addressing these issues is critical to maintaining the long-term health of your roof.
5. Seek Contractor or Manufacturer Assistance
If you suspect that the shingles themselves are defective, consult the manufacturer, a professional roofing company, or a roofing company for help. Many shingles come with warranties that may cover repairs or replacements in case of manufacturing defects, and roofing companies or a reputable roofing contractor can assist with the process.
Alternatively, reach out to your roofing contractor, reputable roofing contractor, or other roofing companies for assistance. A professional assessment, such as a professional inspection by roofing professionals, a roofing professional, a professional roofer, or professional roofers, can identify problems quickly and help you determine the best steps to fix the issue, including whether professional assistance or professional repairs are needed.
Contractors, especially a reputable contractor, can provide valuable insight and guidance, particularly if the problem requires expertise to resolve. Addressing issues promptly with the help of a professional roofing company or reputable contractor can prevent further damage and avoid more extensive and costly repairs in the future.
6. Replace Severely Faulty Shingles
If certain shingles are beyond repair, replacing them with newly installed shingles is the best course of action. Severely faulty shingles, such as warped shingles, can lead to larger issues, such as leaks or water damage, if left unaddressed. It is important to remove old shingles before installing new ones to avoid problems like buckling, uneven appearance, and potential water leaks. Promptly replacing problem areas will not only restore the appearance of your roof but also help prevent complications that could arise from neglecting damaged shingles. Proactive replacement ensures the roof continues to provide effective protection for your home.
👉 Preventing Uneven Shingle Issues During Future Installations
Prevention is always better than cure. If you’re planning to replace or repair your roof in the future, keep these tips in mind for a smoother experience:
1. Choose Reliable Contractors
The foundation of a durable and well-installed roof starts with choosing the right contractors. Always opt for experienced and reputable professionals, such as Best Exteriors, who have a proven track record of delivering high-quality work. Reliable contractors will follow proper installation processes, ensure every step is done to industry standards, and conduct thorough quality checks. This reduces the likelihood of issues like uneven shingles, poor alignment, or premature wear and tear. Don’t hesitate to ask about their certifications, past projects, and customer reviews to ensure you’re making the best choice.
2. Insist on Quality Shingles
The quality of your roofing materials is just as important as the installation itself. Invest in high-quality shingles made from quality materials from reputable manufacturers like Owens Corning or GAF. These companies are known for producing durable, weather-resistant shingles that are less likely to warp, crack, or deteriorate over time.
The manufacturing process also plays a crucial role in shingle quality. Defects or inconsistencies during manufacturing can result in poor-quality roofing materials that may not perform as expected. Poor workmanship during the manufacturing process can lead to defective shingles, increasing the risk of issues such as inadequate sealing or early damage.
While it might be tempting to cut costs with cheaper materials, low-quality shingles can lead to costly problems down the road, such as water leaks or structural damage. Additionally, premium shingles often come with extended warranties for added peace of mind.
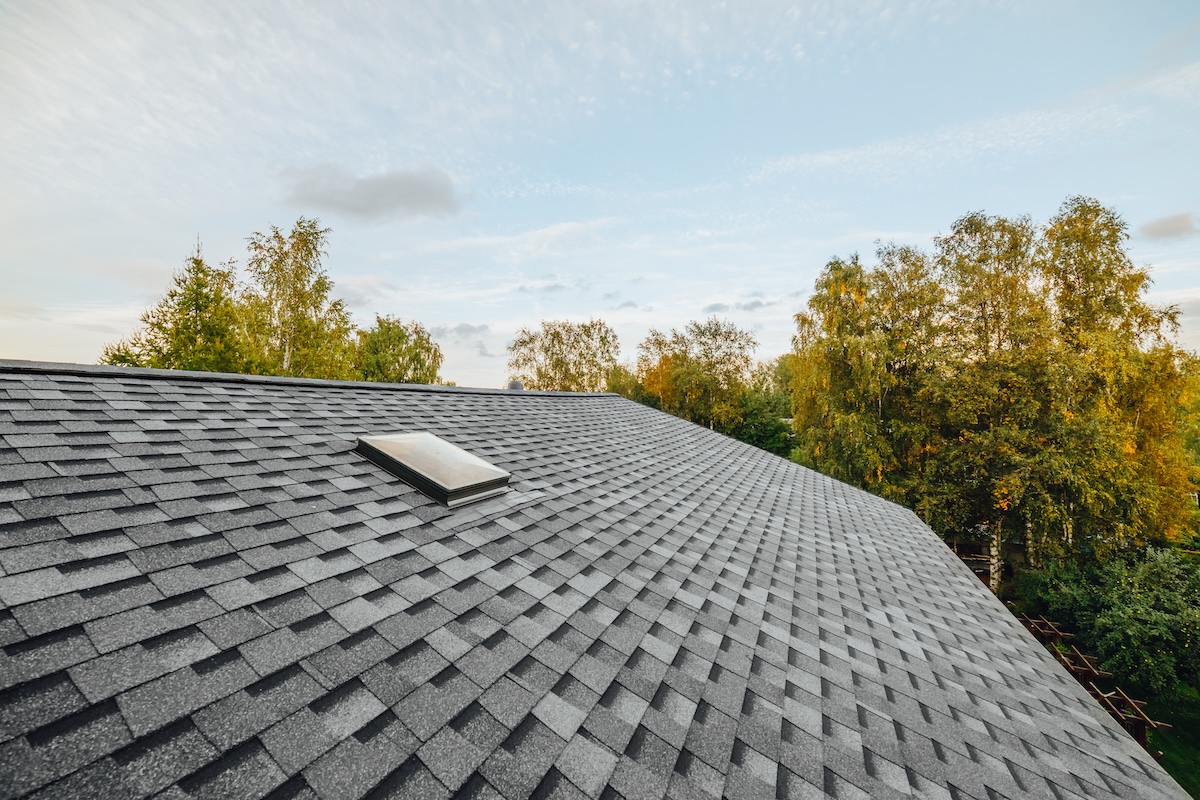
3. Prepare the Roof Deck
A key step that’s often overlooked is preparing the roof deck before installation. A smooth and well-prepped base ensures that shingles lay flat and adhere properly, preventing issues like buckling or uneven surfaces. Your contractor should thoroughly inspect the roof deck for any damage, rot, or imperfections and make any necessary repairs. They should also ensure the deck is clean and free of debris. Proper preparation not only helps with shingle alignment but also improves the overall longevity and structural integrity of your roof.
4. Schedule Installation During Optimal Weather
Weather conditions play a significant role in the success of your roof installation. Shingles need moderate temperatures to settle and adhere properly. Installing shingles during extreme heat can cause them to warp or soften, while freezing temperatures can make them brittle and prone to cracking. Extreme weather, such as high winds and other extreme weather conditions, can also accelerate roof deterioration and cause damage to shingles or underlayment during installation. For best results, shingles should be installed when they can seal properly and be sealed properly, which requires the right temperature and weather conditions. Aim to schedule your roof installation during spring or early fall when conditions are generally mild and predictable. This ensures that the materials perform as expected and reduces the risk of weather-related delays or complications.
5. Check Storage Conditions
Proper storage of roofing shingles before installation is a small yet crucial detail that impacts their performance. Make sure that roofing shingles are stored in a dry, temperature-controlled environment to prevent damage. Excessive humidity can cause roofing shingles to absorb moisture, weakening their structure, while extreme heat can make them soft and difficult to handle. Stacked roofing shingles should be kept flat to avoid bending or curling. Confirm with your contractor that they follow proper storage protocols to ensure the materials are in perfect condition and to help ensure shingles lie flat after they’re installed on your roof.
🏠 Trust Best Exteriors for Your Roofing Needs
At Best Exteriors, we understand how frustrating it can be when your new shingles don’t lay flat, and we’re here to ensure your roof is done right the first time. With our decades of experience, certified installers, and partnerships with top roofing brands, we deliver exceptional results that stand the test of time. Whether you need a repair or a complete roof replacement, our team is dedicated to providing transparency, quality, and peace of mind every step of the way.
Don’t settle for less when it comes to protecting your home. Contact Best Exteriors today for a free consultation and let us show you why we’re the trusted choice for homeowners in Columbus, Ohio, and beyond!!