Roof flashing is your home’s defense against water intrusion at junctions where roof meets wall or different roofing sections converge. By directing water away from these potential leak sites, flashing is crucial for preventing damage. This article explores the selection, installation, and upkeep of roof flashing, ensuring that you’re equipped to protect your home from the costly consequences of water damage.
Inside the blog:
- The Critical Role of Roof Flashing in Home Protection
- Selecting the Right Material for Your Roof’s Flashing
- Signs That Your Roof Flashing Needs Attention
The Critical Role of Roof Flashing in Home Protection
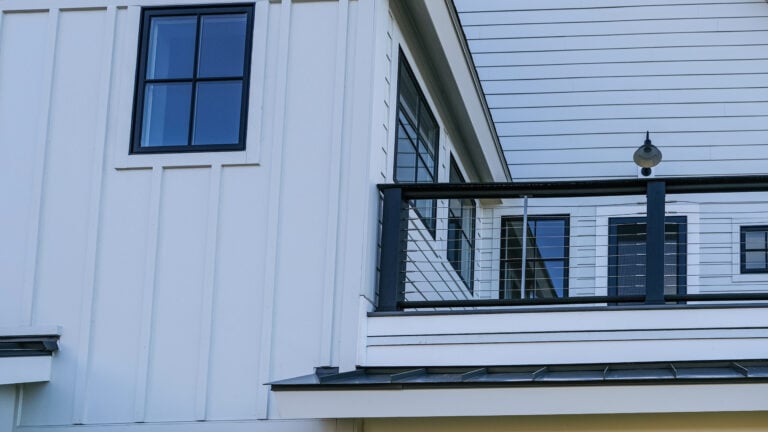
Roof flashing serves the primary purpose of directing water flow off your roof, circumventing susceptible zones to avert water infiltration. These critical junctures, where two roof parts join, are potential hotspots for water leakage and subsequent damage. Installing roof flashing materials at these junctures fortifies your home against water damage, mold proliferation, and significantly prolongs your roof’s lifespan.
But what happens when you neglect your roof’s flashing? Damaged or incorrectly installed flashing can lead to widespread damage, significantly shortening your roof’s lifespan. Wall flashing, for instance, adds an extra layer of waterproofing, reinforcing the primary role of flashing in protecting homes against the intrusive paths of water.
Key Types of Roof Flashing and Their Functions
Rather than a one-size-fits-all solution, roof flashing comes in multiple types, each tailored to shield a particular section of your roof or home’s exterior. Exploring the realm of step flashing, counter flashing, and valley flashing gives insight into how each contributes to a well-shielded home.
Step Flashing: The Barrier Between Roof and Vertical Walls
Step flashing is a popular choice for creating a waterproof seal where a roof meets a vertical wall. Consisting of rectangles of sheet metal bent into an L-shape, step flashing is installed in steps and interwoven with layers of shingles. This method of installation effectively directs water away from the wall and into the gutter, keeping your home dry and safe.
Nevertheless, the installation of step flashing necessitates precision. It should be installed prior to the siding so that the siding can cover the top of the flashing, ensuring an effective waterproof seal. Concealed behind siding, step flashing is suitable with any siding type when it is covered by an additional piece of cladding. To ensure adequate coverage and water prevention, guidelines from the National Roofing Contractors Association (NRCA) suggest that step flashing needs to extend a minimum of 8 to 14 inches above the shingles.
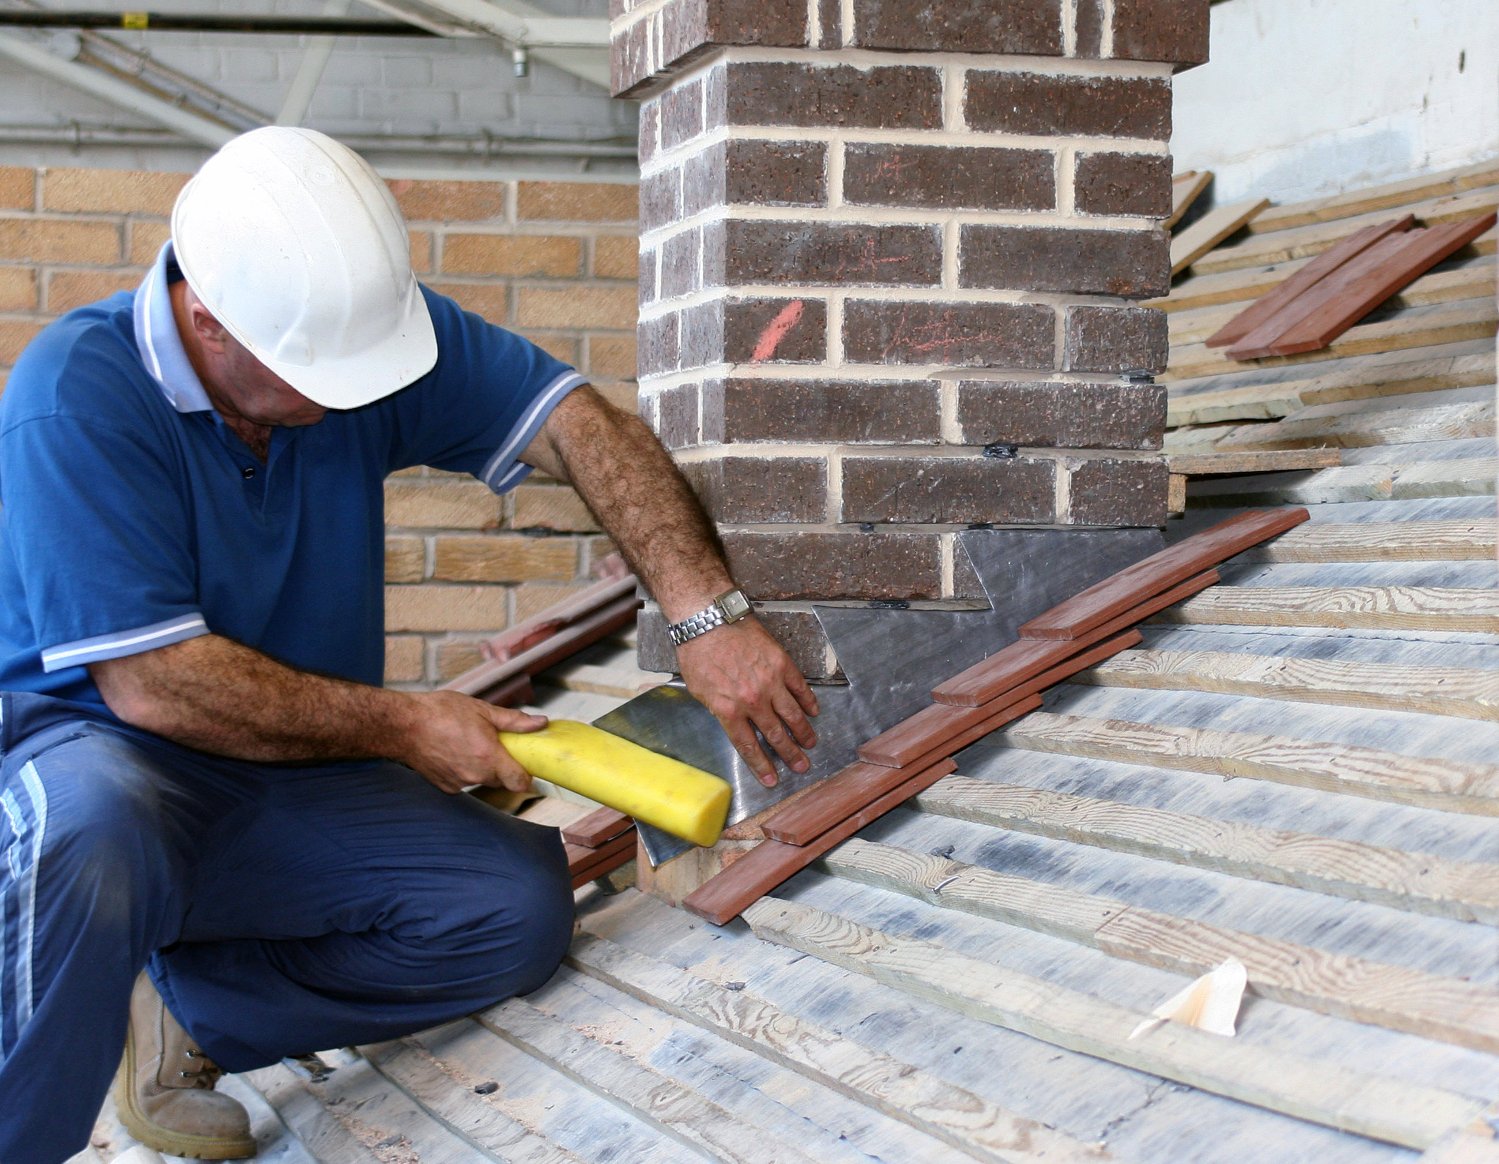
Counter Flashing: The Second Line of Defense
Acting as a secondary barrier, counter flashing amplifies the sturdiness of your roofing system. To install counter flashing, it should be placed into the mortar joints of masonry walls, covering the top edge of base flashings, such as step flashing. This arrangement effectively directs water flow away from the roof structure, acting as a critical barrier to prevent leaks.
In structures like chimneys, counter flashing functions cooperatively with base flashing. The base portion surrounds the bottom of the chimney, and counter flashing is then embedded into the chimney’s masonry. This combination effectively blocks water from seeping behind the base flashing, protecting your home from potential water damage.
Valley Flashing: Directing Water Flow on the Roof
In areas where two adjacent roof planes intersect, valley flashing is key to controlling water flow. These junctions, often referred to as roof valleys, are potential points for leaks, but the installation of valley flashing can prevent such issues.
For effective water management, valley flashing is often installed using the open, no-cut valley method. This technique helps guide water flow without obstructing the path, ensuring that water is effectively channeled away from your roof and preventing potential leaks.

Selecting the Right Material for Your Roof’s Flashing
Choosing the appropriate material for your roof flashing is a pivotal decision, with several options available, such as:
- Steel: popular due to its durability and ease of use
- Aluminum: easy to form and lightweight, albeit susceptible to corrosion when in contact with concrete or masonry
- Copper: known for its longevity and resistance to corrosion
Each material comes with its own set of advantages and drawbacks.
Some materials for roof flashing include:
- Copper roof flashing: easily shaped, highly durable, withstands soldering well, but more expensive and develops a patina over time
- Lead: resilient and resistant to corrosion
- Stainless steel: resilient and resistant to corrosion
- Galvanized steel: another option for metal flashing
Regardless of the material you choose, compatibility with your roofing materials is crucial as selecting an incompatible flashing material can lead to early deterioration or failure of the flashing.
Installation Insights: Ensuring Effective Roof Flashing
Correct installation of roof flashing is pivotal to guarantee a waterproof seal on your roof deck that, in turn, forestalls leaks and structural damage. It’s important to note that not securing an effective seal is a common installation error that can lead to leaks and structural damage, making roof flashing important.
Also, improper integration of flashing with other roofing elements can lead to gaps and weaknesses, causing leaks. Inattention to complete flashing repairs can leave vulnerabilities, resulting in repeated roofing problems. Therefore, it’s vital to ensure that the installation process is carried out meticulously and accurately.
Signs That Your Roof Flashing Needs Attention
Multiple indications suggest your roof flashing might require attention. Some signs to look out for include:
- Visible corrosion
- Roof leaks
- Damaged shingles
- Signs of water damage on siding or shingles
These are clear indicators that your roof flashing may need repair or replacement. It is important to address these issues to ensure your roof is properly protected against water buildup.
Water leakage or damage observed inside the home can be a direct result of a roof flashing leak. Therefore, it’s crucial to inspect roof flashing for damage after severe weather conditions, which can cause significant harm to flashing. Ignoring visible signs of flashing damage risks intensifying into larger, more expensive repairs over time.
We Can Take Care of Your Roof
Remember, regular inspection, cleaning, and timely repairs are key to maintaining the longevity of your roof’s flashing. While DIY projects seem like the way to go, professional services provide a safer, more reliable option. So, the next time you notice a leak or spot damage to your roof, make sure that it’s not due to the roof flashing.
When your roof needs care, you can count on Best Exteriors. Contact us for a free consultation. We look forward to speaking with you!