Keeping your roof in pristine condition is essential to safeguarding your home from the elements. One crucial aspect of roof maintenance often overlooked by homeowners is roof flashing. Properly installed and maintained flashing prevents water from seeping into vulnerable areas, such as chimneys, vents, and skylights. In this comprehensive guide, we’ll cover everything you need to know about roof flashing repair, including:
- What is Roof Flashing?
- Common Signs of Damaged Roof Flashing
- Tools and Materials Needed for Roof Flashing Repair
- 8 Steps to Roof Flashing Repair
- Professional vs. DIY Roof Flashing Repair
🤔 What is Roof Flashing?
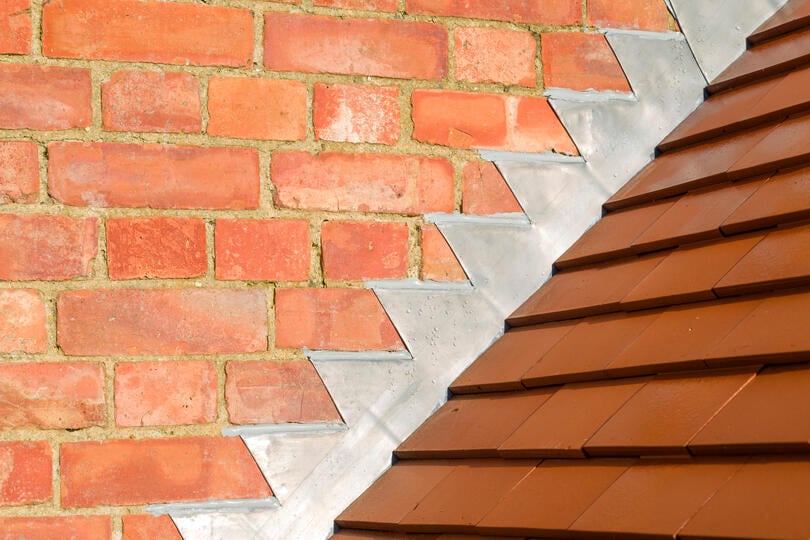
Roof flashing is a thin material, usually made of metal, installed at joints and junctions on a roof to prevent water infiltration. It directs water away from critical areas, ensuring that these vulnerable points remain watertight. Flashing can be found around chimneys, vents, skylights, and valleys where the roof planes meet.
Properly installed flashing is essential for the longevity of your roof. When flashing is compromised, it can lead to leaks and significant damage to your home. Understanding the purpose and function of roof flashing is the first step toward effective maintenance and repair.
⚠️ Common Signs of Damaged Roof Flashing
Identifying damaged roof flashing early can save you from costly repairs down the line. Here are some common signs to watch for:
- Water Stains on Ceilings and Walls: Discoloration or damp spots on interior walls and ceilings could indicate a leak originating from faulty flashing.
- Visible Rust or Corrosion: Over time, metal flashing can rust or corrode, compromising its effectiveness.
- Cracked or Missing Flashing: Physical damage, such as cracks or pieces of flashing that are missing entirely, is a clear sign of a problem.
- Mold and Mildew Growth: Persistent moisture from leaks can lead to mold and mildew, posing health risks and damaging your home’s structure.
Regular roof inspections can help you catch these issues before they escalate. If you notice any of these signs, it’s time to take action.
Importance of Timely Roof Flashing Repair
Timely roof flashing repair is crucial to maintaining the integrity of your home. Ignoring damaged flashing can result in:
Water Damage: Leaks can cause extensive water damage to your home’s interior, leading to costly repairs. This damage can manifest as warped floors, stained walls, and mold growth, which can be both unsightly and hazardous to health.
Structural Issues: Prolonged exposure to moisture can weaken your home’s structural components, compromising safety. Over time, this can lead to issues such as sagging ceilings, compromised foundations, and even potential collapse if not addressed promptly.
Increased Energy Bills: Leaks and water damage can affect your home’s insulation, leading to higher energy costs. Poor insulation due to moisture can make heating and cooling systems work harder, resulting in spikes in utility bills and unnecessary strain on your HVAC system.
Pest Infestations: Moisture from leaks can attract pests, such as termites and rodents, creating additional problems. These pests thrive in damp environments, and their presence can lead to further structural damage and health hazards, necessitating costly pest control measures.
Addressing roof flashing issues promptly can prevent these complications and protect your investment in your home.
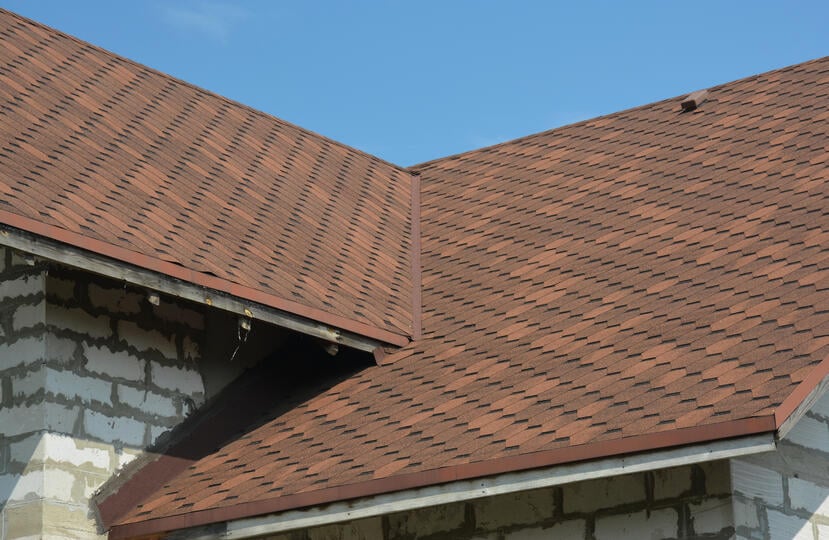
Types of Roof Flashing
Different types of roof flashing are used depending on the specific application and location. Some common types include:
- Step Flashing: Used where the roof meets a vertical wall, step flashing is installed in a stepped pattern to ensure water is directed away from the joint.
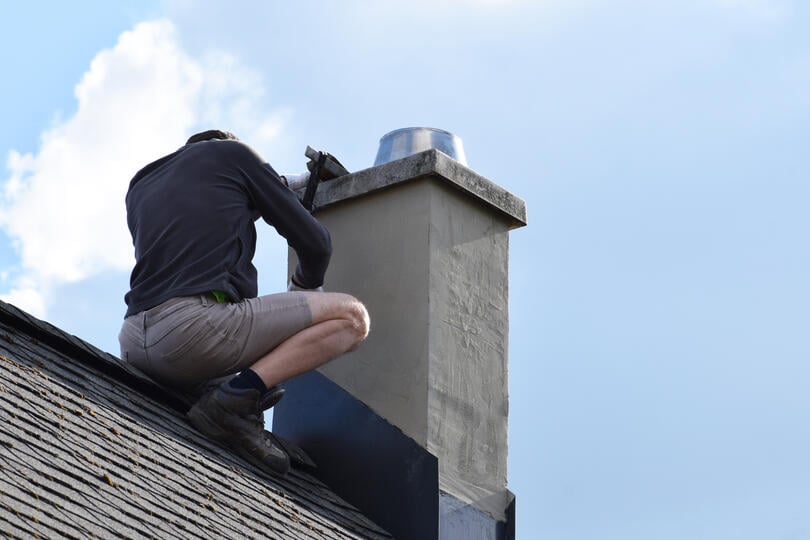
- Chimney Flashing: Specifically designed for chimneys, this type includes base flashing and counter flashing to provide a watertight seal.
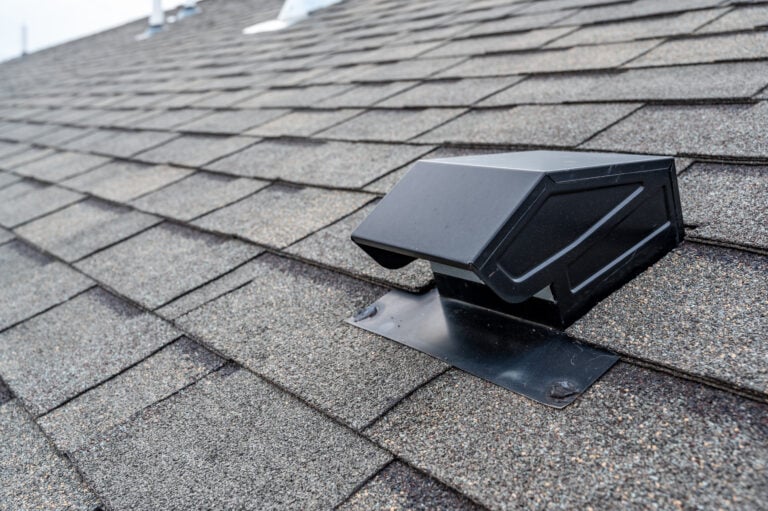
- Vent Pipe Flashing: Installed around vent pipes, this flashing has a rubber boot that creates a tight seal against water intrusion.
- Valley Flashing: Used in roof valleys where two roof planes meet, valley flashing directs water flow away from the valley and into the gutters.
Understanding the different types of flashing can help you identify which areas of your roof may need attention.
🧰 Tools and Materials Needed for Roof Flashing Repair
Before embarking on a roof flashing repair project, gather the necessary tools and materials, including:
- Safety Gear: Gloves, safety goggles, and a harness.
- Ladder: Ensure it’s stable and extends past the edge of the roof.
- Roofing Cement and Sealant: Used to secure new flashing and seal gaps.
- Pry Bar: To remove old flashing and shingles.
- Tin Snips: For cutting metal flashing to size.
- Galvanized Steel or Aluminum Flashing: New flashing material.
- Hammer and Nails: For securing flashing in place.
🛠️ 8 Steps to Roof Flashing Repair
Repairing roof flashing involves several steps. Follow this guide to ensure a successful repair:
1. Safety First
Before starting any roof repair work, prioritize your safety by wearing the appropriate safety gear. This includes a hard hat, non-slip footwear, and gloves. If you’re working at a height, a harness is essential, especially on steep roofs. Make sure your ladder is stable and positioned on a flat surface. Consider using ladder stabilizers for added security. Always have a buddy system in place; having someone on the ground can help in case of an emergency.
2. Remove Damaged Flashing
Begin by inspecting the area around the flashing to determine the extent of the damage. Using a pry bar, gently lift the damaged flashing away from the roof to avoid causing further damage. Remove any nails or screws holding the flashing in place, and carefully take out any shingles surrounding the damaged area. If the shingles are intact and can be reused, set them aside for reinstallation. Be cautious during this step to protect the underlying roof structure and avoid creating new leaks.
3. Cut and Install New Flashing
Once the old flashing is removed, measure the area accurately to ensure a perfect fit for the new flashing. Use metal flashing that matches your roof’s materials and cut it to the appropriate size using tin snips or a metal cutting tool. Apply a generous amount of roofing cement to the underside of the new flashing and position it in place, pressing down firmly to create a watertight seal. Secure the flashing with roofing nails, ensuring they are fastened into the roofing material and not just the underlayment. Finish by sealing the edges with roofing sealant to prevent moisture infiltration.
4. Replace Shingles
Reinstall the previously removed shingles over the newly installed flashing. Start from the bottom and work your way up, overlapping each shingle as you go to ensure water flows over the flashing, rather than under it. Use roofing nails to secure the shingles, ensuring they lay flat and create a tight seal. Pay attention to the alignment of shingles for a neat appearance and to avoid creating gaps that could lead to leaks.
5. Inspect for Underlying Damage
Before completing the installation of the new flashing, take the time to thoroughly inspect the underlying roof deck. Look for signs of rot, mold, or damage that may have resulted from previous leaks. If you discover any compromised areas, they should be repaired before proceeding with the installation of the flashing. This may involve replacing sections of the decking or applying wood preservatives to prevent future decay.
6. Check for Proper Drainage
Proper installation of flashing is crucial for effective drainage. Ensure that the new flashing is positioned in a way that directs water away from the roof and into the gutters. Check that the flashing overlaps neighboring sections correctly to avoid water pooling, which can lead to leaks and moisture build-up. If necessary, adjust the angle of the flashing to promote better flow and drainage.
7. Conduct a Final Inspection
After all repairs and installations are complete, conduct a thorough final inspection. Check all areas for secure fittings, proper alignment, and effective sealing. Pay particular attention to the edges of the flashing and the overlap areas of the shingles. Once everything looks secure, consider running a water test by spraying water over the repaired section to ensure there are no leaks. Additionally, monitor the area for leaks after the next rainfall.
8. Regular Maintenance
To prolong the life of your roof flashing and prevent future issues, schedule inspections at least twice a year or after major storms. During these inspections, check for damage to the flashing, shingles, or underlying structure, and clear any debris to ensure proper drainage. Addressing issues early can save you from costly repairs later.
- Inspect Annually: Conduct a thorough roof and flashing inspection at least once a year.
- Clean Gutters: Regularly clean gutters to prevent water backup.
- Trim Branches: Trim overhanging branches to reduce the risk of storm damage.
👨🔧 Professional vs. DIY Roof Flashing Repair
Deciding whether to tackle roof flashing repair yourself or hire a professional depends on several factors:
Skill Level: Before starting any roofing repairs, evaluate your comfort and experience in this area. If you lack knowledge or feel uncertain, it’s wise to seek help from a professional who can ensure the job is done correctly and safely. Taking on a project beyond your skill level can lead to further complications.
Safety: Working on a roof presents various hazards, including falls and exposure to the elements. If you’re not experienced with ladder safety or roofing techniques, consider hiring a professional. They have the training and equipment to work safely, minimizing risks to yourself and others.
Cost: While tackling repairs on your own can be cost-effective, keep in mind that professional services often provide warranties and guarantees. Investing in expert help can save you money in the long run by preventing future problems and ensuring high-quality workmanship.
Common Mistakes to Avoid
Avoiding common mistakes can ensure a successful roof flashing repair:
- Improper Installation: Incorrectly installed flashing can cause more harm than good. Follow instructions carefully or hire a professional.
- Using the Wrong Materials: Ensure you’re using the appropriate type of flashing for your specific application.
- Ignoring Small Leaks: Small leaks can quickly become major issues if left unaddressed. Take immediate action to repair any damage.
By steering clear of these mistakes, you can maintain a watertight and durable roof.
🙌 Protect Your Home and Investment
Roof flashing repair is a critical aspect of maintaining your home’s integrity. By understanding the importance of flashing, recognizing signs of damage, and taking timely action, you can prevent costly repairs and protect your investment.
At Best Exteriors, we pride ourselves on being the team you can trust for all your roofing needs. Our experienced professionals are dedicated to providing top-notch service and ensuring your roof remains in excellent condition. Contact us today to schedule an inspection and experience the Best Exteriors difference.