Chimney flashing is an important component of your home’s roofing system that often goes unnoticed until it starts causing problems. After all, let’s face it. Do YOU know what your chimney flashing looks like or does? If you said no, you are not alone.
Located at the intersection of your chimney and roof, flashing plays a crucial role in preventing water from seeping into your home. Over time, flashing can deteriorate due to:
- Exposure to the elements
- Leaks
- Water damage
In this guide, we’ll explore what chimney flashing is, signs of flashing damage, how to repair it, the costs involved, and when it’s time to call a professional. Wondering if it is time for a chimney flashing repair? Keep reading to find out!
What is Chimney Flashing?
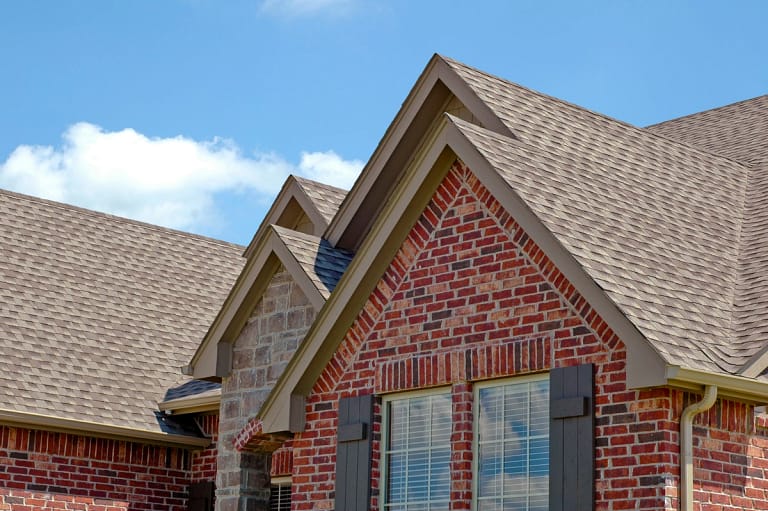
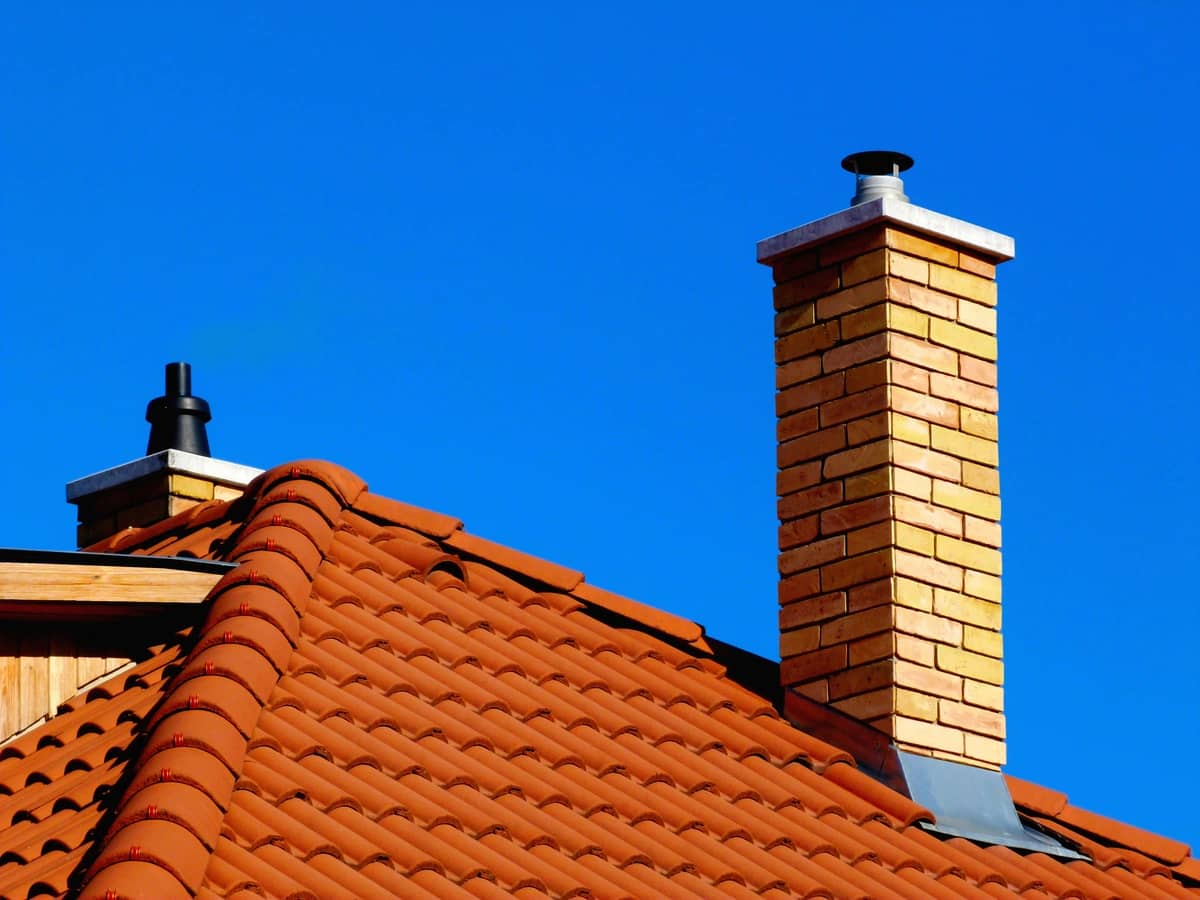
Chimney flashing is a protective barrier made of metal (usually aluminum, copper, or galvanized steel) that’s installed around the base of your chimney where it meets the roof. Its primary purpose is to create a watertight seal to prevent water from entering your home. Flashing consists of two main parts:
- Base Flashing: This is the part of the flashing that’s tucked under the roofing material and wraps around the chimney’s sides. It acts as the first line of defense against water infiltration.
- Counter Flashing: Counter flashing is installed on top of the chimney’s masonry, covering the base flashing and providing an additional layer of protection.
Chimney flashing is an essential component in maintaining a watertight roofing system and protecting your home’s interior from water damage.
6 Signs of Flashing Damage
Recognizing signs of chimney flashing damage is crucial to addressing issues before they lead to more extensive and costly repairs. Here are some common signs to watch out for:
1. Water Leaks
The most obvious sign of damaged flashing is water leaking into your home, typically around the chimney area. If you notice water stains on your ceiling or walls, it’s time to investigate the condition of your chimney flashing.
2. Rust or Corrosion
Flashing is exposed to the elements, making it susceptible to rust and corrosion over time. If you see rust or corrosion on the flashing material, it’s a clear indication that it needs attention.
3. Loose or Missing Flashing
Strong winds and severe weather conditions can loosen or dislodge flashing. Missing or improperly secured flashing leaves vulnerable areas where water can infiltrate.
4. Damaged Sealant
Flashing is often sealed with caulking or roof cement. Over time, this sealant can degrade or crack, compromising the flashing’s effectiveness. Inspect the sealant regularly for signs of wear and tear.
5. Cracked Mortar Joints
If you have a masonry chimney, check for cracks in the mortar joints near the flashing. Cracks can allow water to seep in and damage the chimney structure.
6. Algae or Mold Growth
Excessive moisture around your chimney can lead to the growth of algae, mold, or mildew. If you notice any of these on or around your chimney, it could be a sign of flashing issues.
Chimney Flashing Repair: 8 Step Guide

Repairing chimney flashing can be a DIY project for those with some roofing experience. However, it’s essential to prioritize safety and consider the extent of the damage. Here’s a step-by-step guide to repairing chimney flashing:
1. Gather Materials and Tools
You’ll need the following materials and tools for the chimney flashing repair:
- Replacement flashing material
- Roofing nails or screws
- Roofing cement or sealant
- Roofing tar (if applicable)
- Flashing adhesive
- A pry bar or pliers
- A ladder
- Safety gear (gloves, safety glasses)
2. Assess the Damage
Carefully inspect the damaged flashing and surrounding areas to determine the extent of the repair needed. If the flashing is severely corroded or compromised, consider replacing it entirely.
3. Remove Old Flashing
Use a pry bar or pliers to gently remove the old flashing, taking care not to damage the roofing materials or chimney structure.
4. Install New Flashing
Cut the replacement flashing to the appropriate size, ensuring it wraps around the chimney snugly. Secure the base flashing beneath the roofing material and attach it using roofing nails or screws. Apply roofing cement or sealant over the nail heads to create a watertight seal.
5. Secure Counter Flashing
Position the counter flashing over the base flashing, ensuring a tight fit. Secure it in place by either nailing or screwing it to the chimney’s masonry. Seal the top edge of the counter flashing with roofing cement to prevent water infiltration.
6. Apply Sealant
Inspect the sealant or caulking around the flashing and chimney for cracks or gaps. Reapply sealant as needed to create a watertight seal.
7. Check Roofing Tar (if applicable)
If you have a metal roof, check for any gaps or damage in the roofing tar that surrounds the chimney. Apply a new layer of roofing tar if necessary to maintain a watertight seal.
8. Test for Leaks
After completing the repair, it’s crucial to test for leaks. Have a helper spray water onto the flashing area while you check for any signs of water infiltration inside your home.
How Much Does Chimney Flashing Repair Cost?

The cost of chimney flashing repairs can vary widely based on several factors, including the extent of the damage, the type of roofing material, and whether you choose to DIY or hire a professional. Here’s a rough estimate of what you can expect:
DIY Repair:
- Replacement flashing material: $50 to $150
- Roofing nails or screws: $5 to $15
- Roofing cement or sealant: $10 to $20
- Total DIY cost: $65 to $185
Professional Repair:
- Labor costs: $200 to $500 (may vary by location)
- Materials and supplies: $100 to $300
- Total professional repair cost: $300 to $800
Keep in mind that these estimates are rough guidelines, and the actual cost can be higher or lower depending on your specific circumstances.
When to Call a Professional
While some homeowners may choose to tackle chimney flashing repairs as a DIY project, it’s essential to recognize when it’s best to call in a professional roofer. Consider the following situations:
- Extensive Damage: If the flashing and surrounding areas are severely damaged or deteriorated, it’s best to leave the repair to a professional who can assess the situation and provide a long-lasting solution.
- Inexperience: If you lack experience with roofing and flashing repairs, attempting a DIY fix can lead to mistakes and further damage. A professional roofer has the expertise to handle the job correctly.
- Safety Concerns: Working on your roof can be hazardous, especially if you’re not accustomed to heights or lack the proper safety equipment. Professionals are trained to work safely at heights and can prevent accidents.
- Warranty Concerns: If your roof is under warranty, attempting a DIY repair may void the warranty. Hiring a professional ensures that the repair is done in compliance with manufacturer specifications.
- Time Constraints: DIY projects can take longer to complete, especially if you’re learning as you go. If you need a quick and reliable repair, hiring a professional is the better choice.
Get Help With Your Faulty Chimney Flashing
Are you ready to replace chimney flashing on your roof but aren’t sure where to start? Best Exteriors can help! As your local chimney flashing repair experts, we can find options that work within your budget and fix your leaking chimney for good! Contact us today to set up your free consultation.