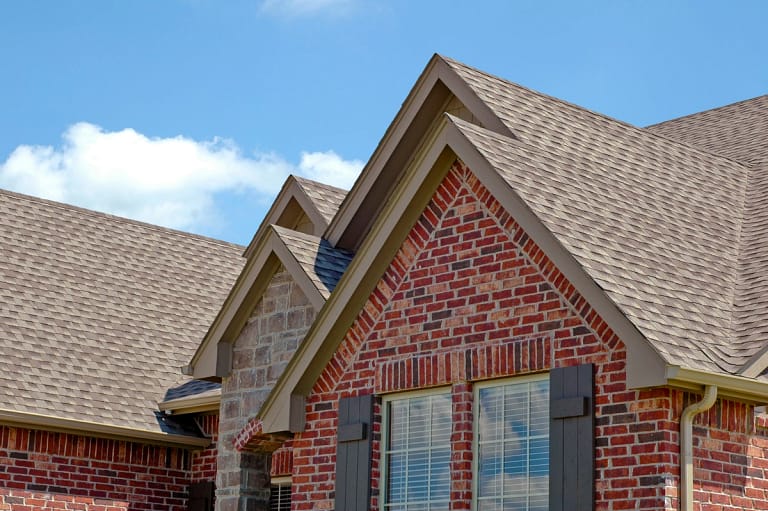
James Hardie is one of the single most reputable names in the siding industry. James Hardie offers affordable fiber cement siding options for any size home, providing both exceptional performance and a boost to curb appeal just like a new roof would.
If you’re considering installing James Hardie siding for your home or business, the best route is hiring a professional contractor you can rely on to get the job done right. But if you’re feeling confident in your own craftsmanship, you can also give do-it-yourself siding installation a shot — it’s actually quite simple.
Find easy-to-follow DIY James Hardie siding installation instructions below:
Why Choose Fiber Cement Siding From James Hardie? ✅
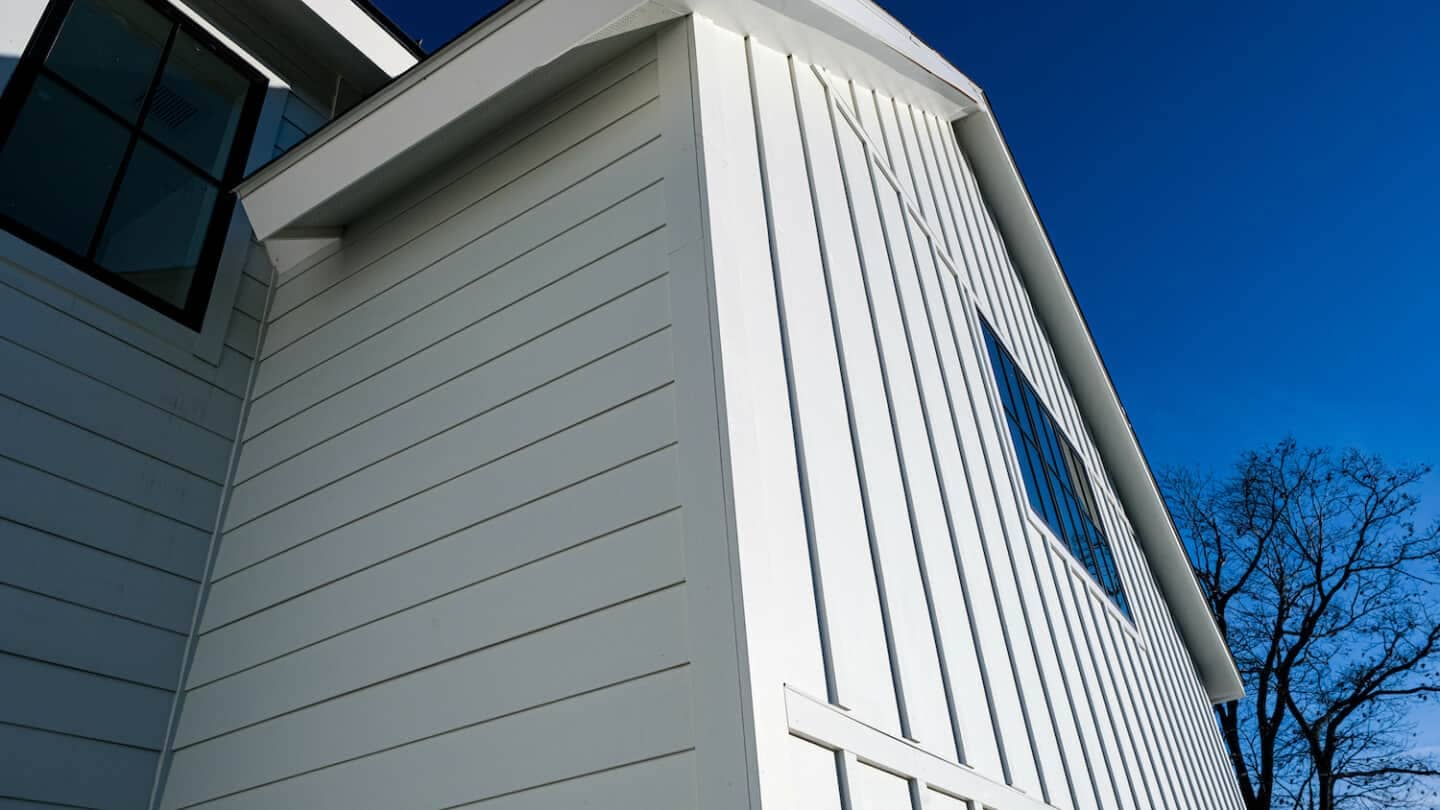
You might be more familiar with the ever-popular vinyl siding styles seen across the nation. But now, fiber cement siding is also gaining traction amongst modern homeowners, and James Hardie siding is considered some of the best. Here’s why:
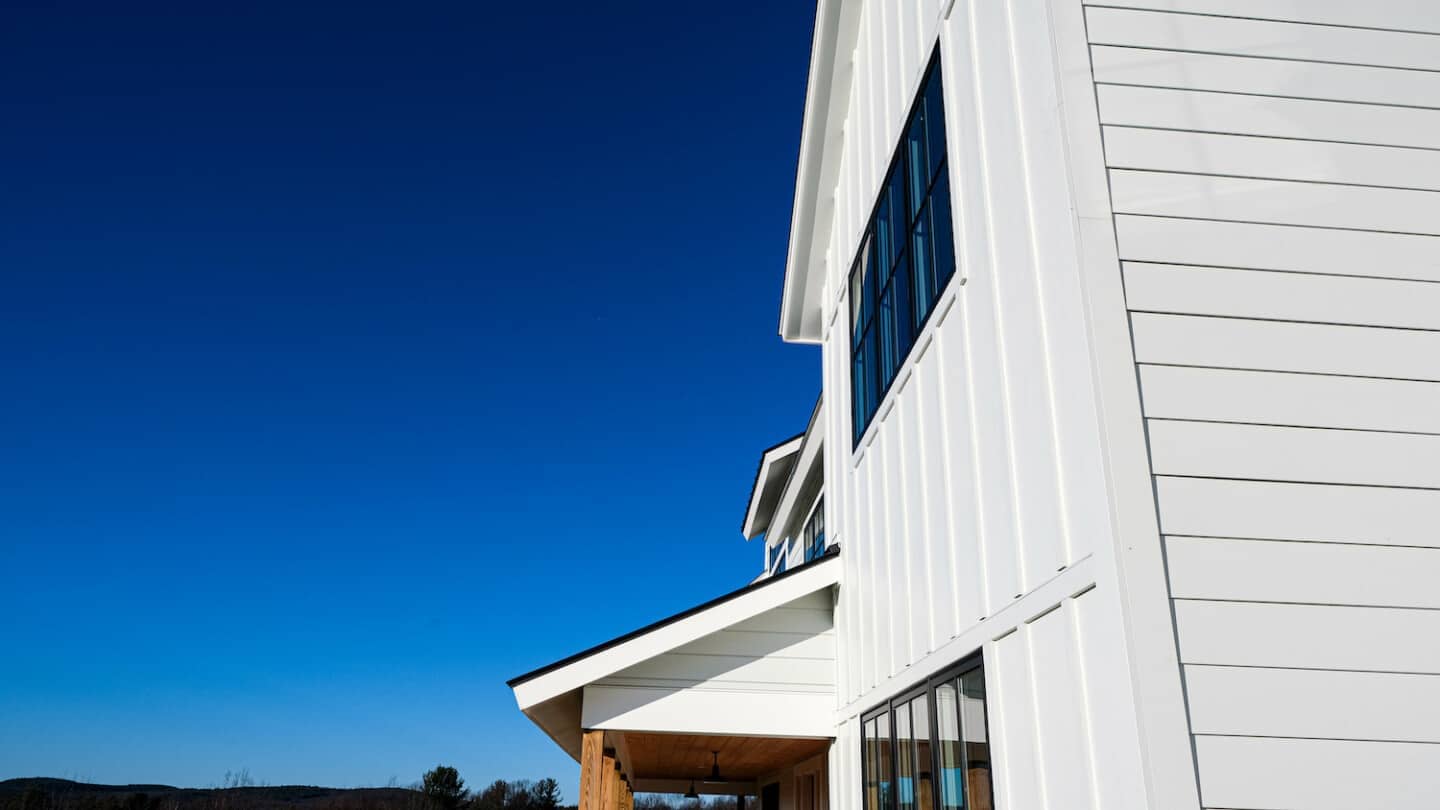
- Durability – James Hardie brand products are the first of their kind in the industry. They are known for superior durability over vinyl siding, so you can count on this fiber cement siding to withstand just about anything.
- Customization & color variety – Homeowners also love the versatile color and style options offered at James Hardie compared to vinyl siding. You can find James Hardie fiber cement siding in an array of shades to suit the current aesthetic of your home’s exterior or paint it to match your personal style as well.
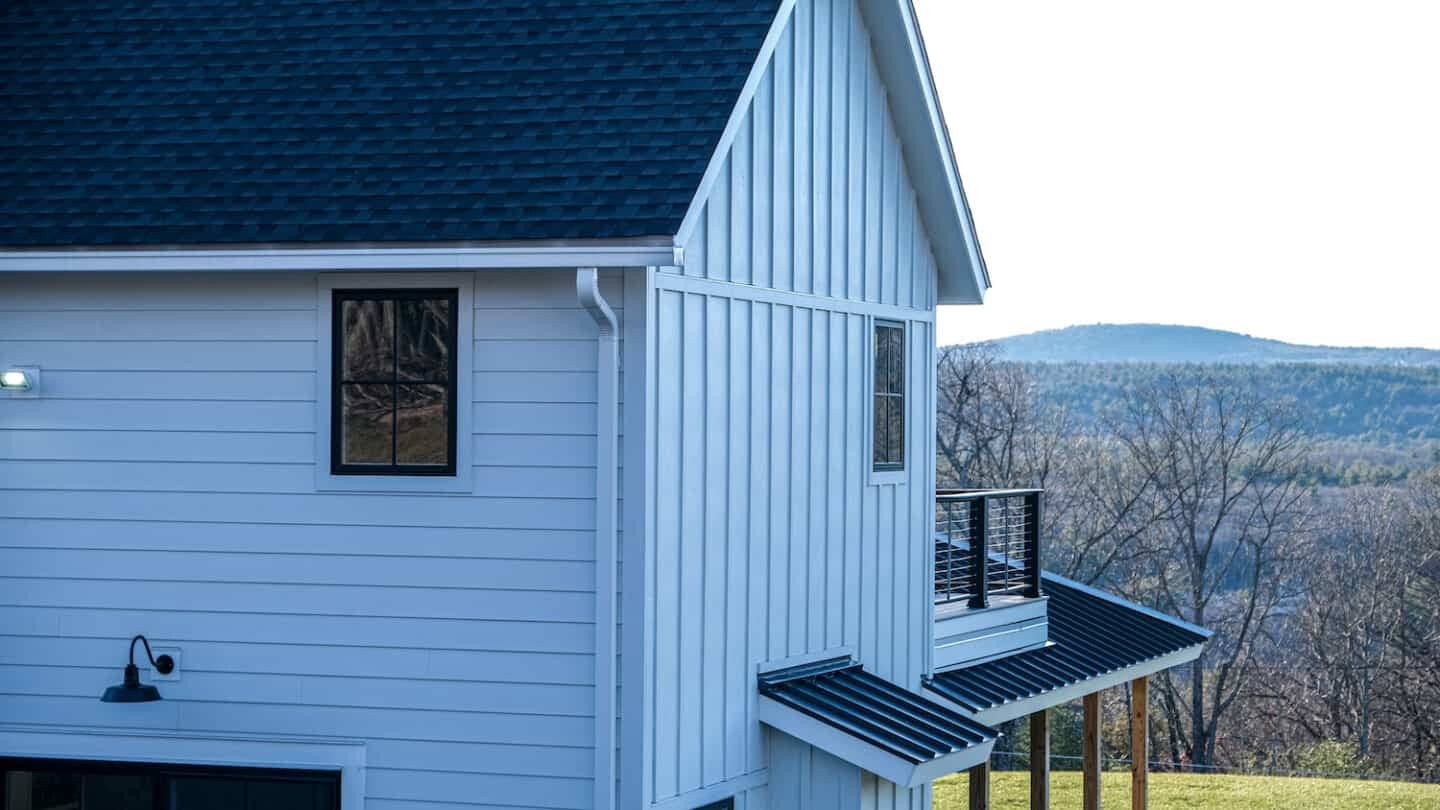
- Rot & pest resistance – James Hardie fiber cement is also known for extreme water and pest resistance. You won’t have to worry about pesky termites, mold, or mildew anymore.
- Longevity – James Hardie brand products are manufactured to last, with life expectancies upwards of 50 years with the proper care and maintenance.
- Easy maintenance – Hardie board is also incredibly easy to clean; You won’t even need a power washer! Pressure washing your new siding is one of the only ways it can become prematurely damaged. We recommend using a dish soap solution and your standard-grade garden hose to gently wash away any dirt or lingering debris.
- Affordability – Another great thing about Hardie siding is how affordable it is. Although not quite as cheap as vinyl, the added durability and longevity make James Hardie siding a worthwhile investment.
With all these benefits, we can completely understand why you’d want to pursue a James Hardie siding installation. Learn more about the proper safety precautions prior to starting your project.
Siding Installation Safety ⚠️
Any home improvement job can pose a danger to homeowners, so it’s important to have the proper safety gear and precautions in place to ensure you’re protected throughout the project. Using the correct tools and storing your James Hardie fiber cement siding properly will also ensure a safe and easy installation.
Protective Gear for DIY Installers 🦺
You’ll need a few pieces of protective equipment on hand to ensure your James Hardie siding installation goes smoothly, including the following:
- Eye protection — Always wear safety goggles when cutting your James Hardie brand products.
- Face masks — Use NIOSH-approved N95 masks only in order to minimize dust inhalation during the project.
- Ear protection — Wearing in-ear earplugs or over-ear noise-canceling headphones while you use circular saws and other power tools can reduce the risk of hearing damage.
- Dust collecting saws — Try to find a circular saw with a dust collector feature since cutting Hardie siding boards can create a lot of dust and harmful debris.
- Clothing — Remember to cover up exposed skin with long, strong, tighter-fitting clothing (loose, baggy clothes can get caught on the saw) and protect your feet with sturdy, durable, closed-toed, and rubber-soled shoes or work boots. Don’t forget to tie back your long hair, too.
- Ladders — Ladder safety is essential during your siding replacement project. Find a trustworthy friend to spot you and hold the ladder in place to keep yourself safe from an all-too-common slip or fall injury.
Tools to Install James Hardie Siding 🧰
Of course, you’ll also need the proper tools to ensure the installation of your new Hardie board siding goes smoothly, such as:
- Hammer
- Fiber cement shears
- Circular saw
- Utility knife
- Zip lock tool
- Tin snips
- Fasteners
- Pneumatic nailer
- Siding nails and roofing nails (either stainless steel, corrosion-resistant, or hot-dipped galvanized nails)
- Siding lap gauge
- Hand tools like a level, measuring tape, chalk line, speed square, etc.
- Ladder
Siding Storage Tips 📦
It’s also crucial to keep James Hardie brand products stored properly to minimize the chances of any damage occurring. Here are a couple of tips:
- Inspect the boards for any damage as soon as they arrive
- Keep your Hardie board siding completely dry until the installation
- Always store James Hardie siding inside and under a waterproof cover
- Store the boards on a pallet that’s placed on level ground to reduce contact with ground moisture
- Follow the storage instructions printed on the product’s bag
7 Simple Steps for Installing Hardie Siding 🛠
Now that you have your tools and safety equipment in place, you can move on to the hands-on aspects of this project. Follow our 7 simple steps below as well as the brand’s installation instructions to install James Hardie siding easily.
- Prep your project area – Before you can install James Hardie siding, you’ll need to sheath the bare walls with plywood, foam, or oriented strand board. Then, cover the sheathing with house wrap or felt paper to create a sturdy underlayment. Mark all studs with your chalk line.
- Cut the siding – Use your siding shears or a saw to start cutting your boards to the proper size. You can also use a jigsaw or the cutting and scoring method, but shears and saws are much faster.
- Fasten your siding – Next, fasten the boards together by hand or with your pneumatic nailer. Make sure to use a consistent pattern that lines up with the corresponding studs. Roof nails can be used for blind nailing the boards at the top while siding nails are best for face nailing at the bottom.
- Install siding trim – With the board siding fastened in place, install your trim on the inside and outside corners of your walls. Leave an extra half-inch or so to allow room for caulk; about the width of two siding planks put together.
- Install James Hardie siding – Now, follow the installation instructions to secure your new siding to the exterior of your home. Make sure to follow along with the installation instructions carefully because there are several important measurements to keep in mind.
- Paint and seal – Once your siding replacement is complete, you can use paint, stain, and seal to wrap up the whole ordeal. James Hardie brand products should be painted as soon as possible, but only when the materials are clean and dry. Always use high-quality acrylic topcoats made specifically for home exteriors. For unprimed products, use an exterior-grade acrylic primer prior to applying the top coat of paint.
- Wrap things up – A siding replacement will generate a lot of waste, so you’ll definitely want to get things cleaned up quickly. Working with a professional contractor for this project will probably give you access to roll-off dumpster containers and other waste removal services, so that’s something to consider as a worthwhile investment if you don’t have the time or energy to clean up yourself.
Common Installation Errors 🚫
If you’re not an experienced contractor, it can be easy to make simple mistakes that will likely lead to further damage down the line for your home. Examples of these common mistakes include:
- ❌ Improper storage – Even the most experienced contractor has made this mistake; always store your fiber cement siding inside and under a waterproof cover. Keep the products away from the ground with a wood pallet to prevent moisture infiltration.
- ❌ Fasteners – James Hardie provides tested and approved methods for fastening boards together. Many homeowners don’t have the same knowledge of a seasoned contractor and miss studs or utilize the wrong nailing pattern.
- ❌ Joint placement – Joining your Hardie board panels together is relatively straightforward, but it can still go vastly wrong and lead to your siding being installed incorrectly. Many inexperienced homeowners leave extra space in places where there should actually be contact between the boards, accidentally creating butt joints if they’re not careful. That’s one thing those Hardie-preferred contractors probably won’t get wrong.
- ❌ Nailing – Another good way to lose track of nails is with those handy air nailers. Although they might be an efficient way to nail things down, even your contractor can miss a spot when they’re moving that fast.
Sit Back, Relax, and Let a Professional Contractor Handle This 😌
James Hardie’s siding products are pretty simple to replace yourself, but any kind of home improvement can be hard work. Why break your back when you can sit back and relax, allowing the professional contractors at Best Exteriors to do the heavy lifting?
We have lengthy experience installing Hardie board siding and are a James Hardie Elite Preferred contractor. That means we can get the job done quickly and without those common mistakes, making your life so much easier.Contact us now for a free estimate and consultation to start your siding replacement with a team you can truly trust.