Everyone loves a good 🎉 surprise 🎉, except when it comes to how their home looks or functions. If an unexpected storm has damaged your roof to the extent that significant repairs or a roof replacement are required, you’ll likely have to deal with your homeowners insurance company— which is no fun either. 😓
While you might not be looking forward to the dreaded insurance claims process, we’ve broken down and simplified it so you can quickly make a roof claim without any extra complications.
In this guide, we’ll cover a range of essential topics for filing a roof claim, like:
- Identifying roof damage on your home
- Documenting damaged property properly
- Understanding your homeowners insurance policy
- Getting a roof inspection for your property
- Dealing with your homeowners insurance company
- Meeting with an insurance adjuster
- Filing an insurance claim for roof damage
- Reviewing your roof claim payment
- Scheduling services with a roofing company or contractor
Has your home been hit by a storm, and now you’re in need of emergency repairs or an entire tear-off replacement? Read this guide to get the information required to make an insurance claim for roof damage right away.
Step One: Assess Your Roofing Issues
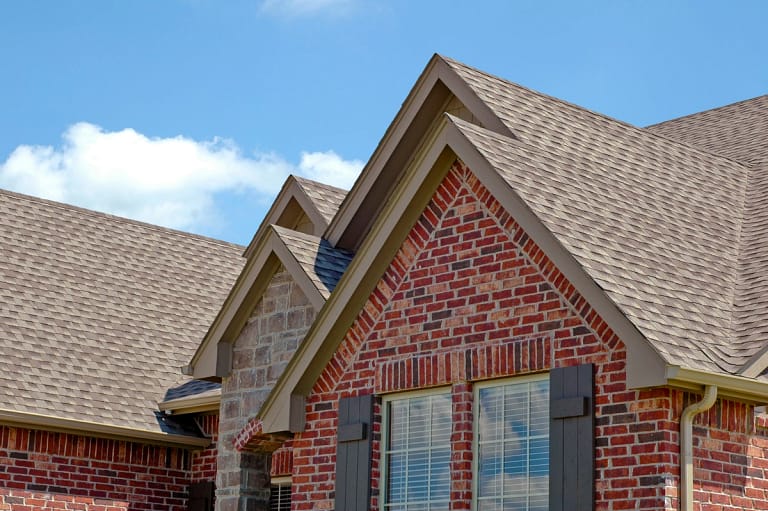
The first step in making an insurance claim for roof damage is to do a thorough evaluation of your roof and determine the severity of the damage.
Start by going outside and looking up at your roof from the ground level since some damage can be seen from here. Take note of any missing shingles, obviously dented gutters, or other apparent signs of damage.
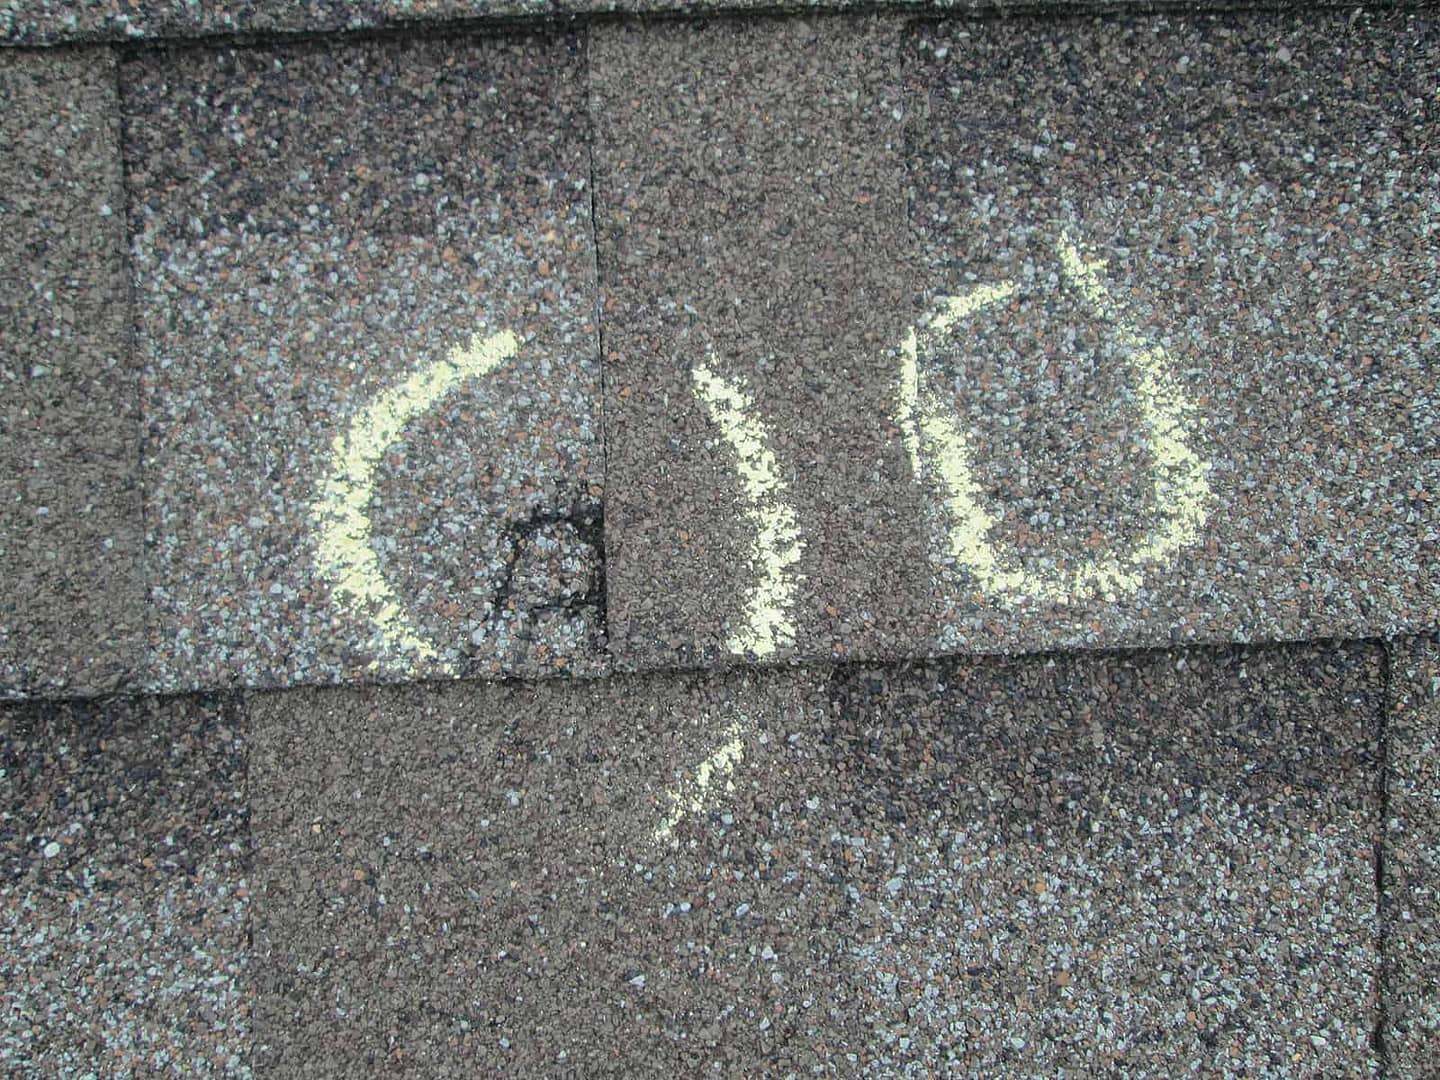
Sometimes, asphalt shingles can be dislodged but still intact, so you’ll want to look for granules (the small black bits that make up your shingles) in gutters or on the ground around your home to help determine your levels of damage in these cases.
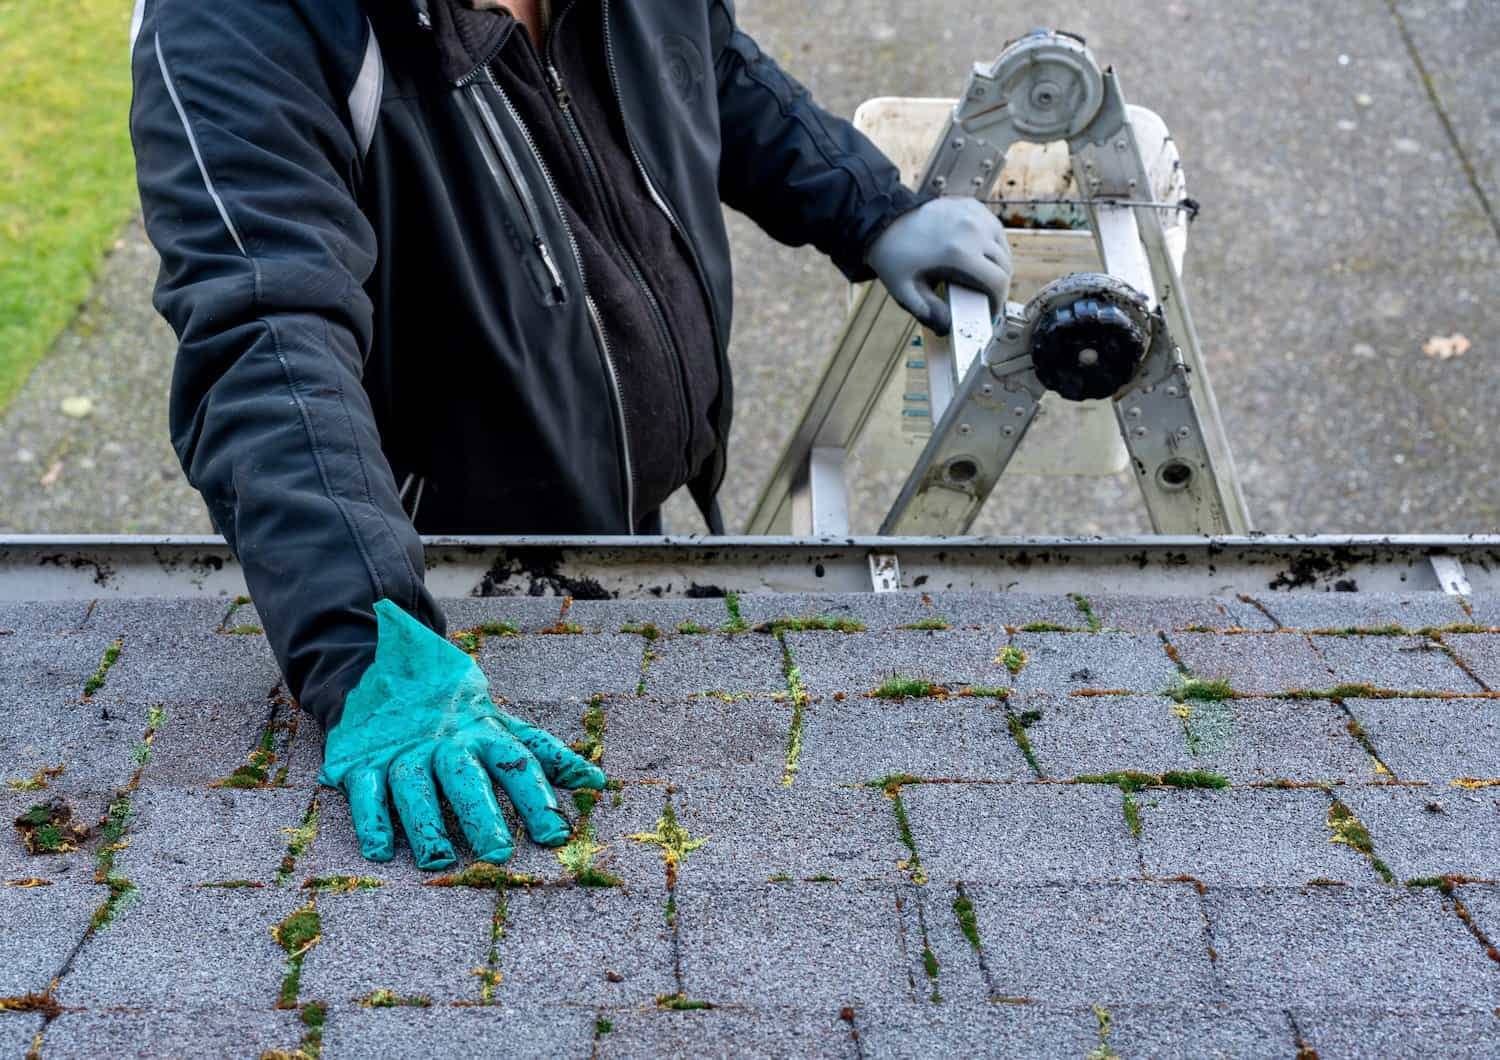
If you have a ladder and feel comfortable doing so, conduct a more thorough inspection by going on your roof and taking a closer look. Be sure to exercise extreme caution, as residential roofing-related activities can be dangerous or ultimately even fatal.
Other examples of roof damage you might see after a storm include:
- Visible granule loss in gutters from asphalt shingles
- Loose or altogether missing shingles
- Cracked, dented, or warped shingles
- Fallen debris on your roof’s surface
- Dented or broken gutters and downspouts
- Internal leaks, stains, or signs of water damage
- Gaps and holes in the roofing material
Step Two: Document Any Damage
After identifying the damage to your roof, you’ll want to document everything for your insurance claim. Be sure to take plenty of photos or videos from different angles and make detailed notes about the extent of the damage.
If possible, try to find a before photo of your roof (or at least the affected area) to show how the damage has impacted your property. So if your roof is currently intact and sans storm damage, now would be a smart time to go outside and snap a photo before the next big storm takes its toll.
In addition, if you have any receipts or other documentation related to recent roofing work or repairs, be sure to include these as well. For example, if you had a new roof installed within the past few years, your insurance company will likely want to see proof of this purchase in order to approve your claim.
Step Three: Review Your Homeowners Insurance Policy
Every homeowners insurance policy is different, so it’s crucial to understand exactly what kind of coverage you have before filing a claim.
Start by looking at your policy documents to see if there are any specific provisions or limits related to roof damage. Most homeowners policies only cover damage caused by certain types of weather events, including:
- Hail ☄️
- Wind 💨
- Lightning ⚡️
- Water damage (rain, hurricanes, etc.) 💦
- Fire 🔥
- Falling objects/debris (think tree limbs) 🪵
- Some vandalism 🚨
- “Acts of God” (events outside of human control) 😇
Your average homeowners insurance policy will not usually cover:
- Intentional or accidental damage caused by the homeowner 💥
- A lack of proper maintenance 🚫🛠
- Earthquakes, tornadoes, or floods (you need separate insurance policies for these) 🌪
Here’s another informative guide to help you better understand how to read your homeowners insurance policy and determine your coverage.
Once you know what is and isn’t covered by your policy, you can schedule an initial roof inspection and start to put together all the information you’ll need to file your insurance claim for roof damage.
Step Four: Get a Roof Inspection
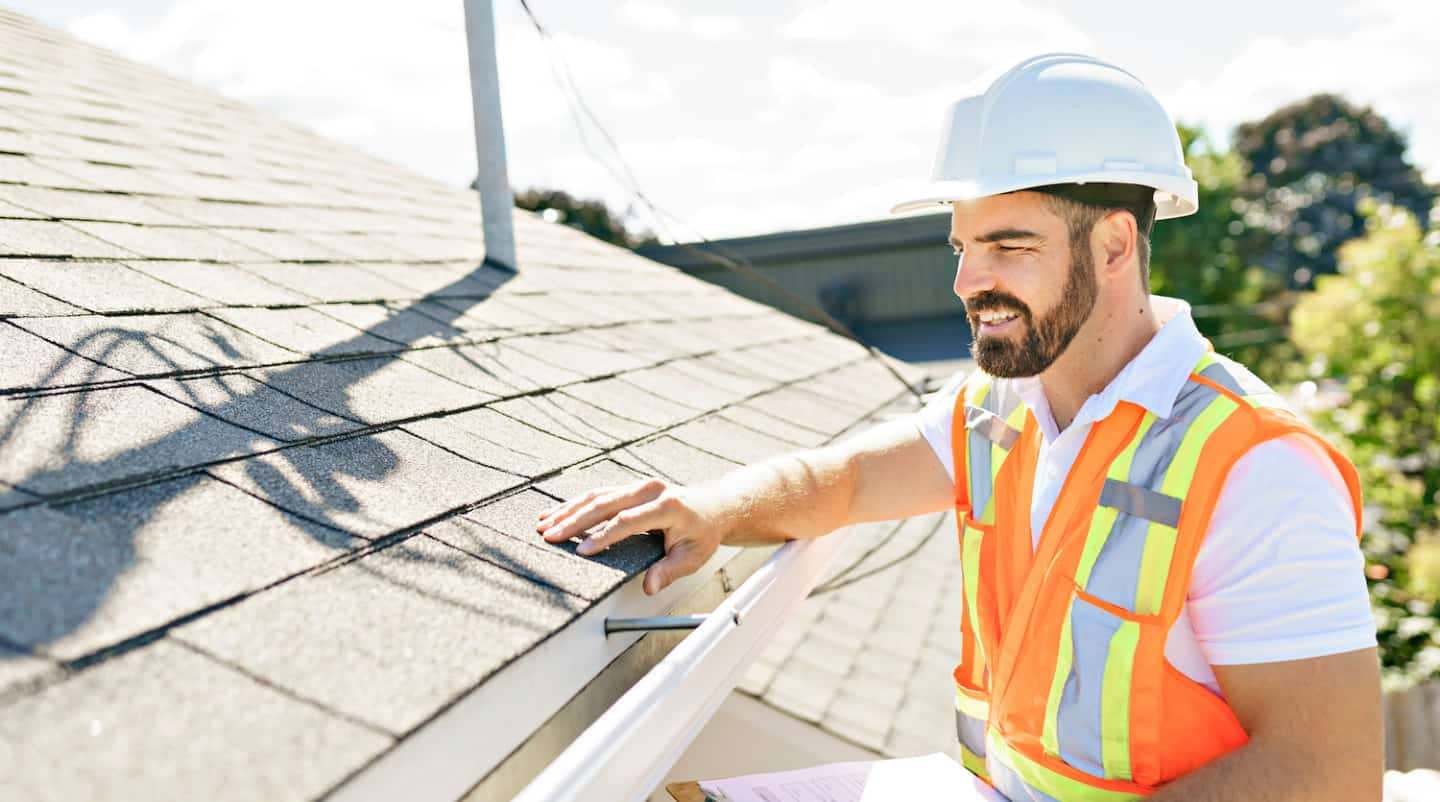
Once you understand what’s covered by your insurance policy, the next step is to get a roof inspection from a licensed contractor. This can provide you with critical evidence to support your roof claim with an insurance company, so look for roofing contractors with extensive professional experience in storm damage repairs.
Your chosen contractor will assess the damage to your roof and provide a repair estimate (which is typically free). Be sure to get estimates from at least three different roofing contractors or companies before making any decisions, as pricing can often vary from company to company and contractor to contractor.
In addition, ensure you’re doing your background research to find a reputable contractor. Many times after a storm, scammers and con artists called “storm chasers” will try to swindle unsuspecting homeowners out of cash, promising to make repairs that never come to fruition. Ask your friends and neighbors for recommendations or search online to find a trusted contractor to give you a roofing quote and complete the job after your claim goes through.
Step Five: Reach Out to Your Insurance Company
Now that you know what your policy covers and you have the proof of your roof damage on hand, it’s time to get in touch with your homeowners insurance company to start the claims process.
You’ll first want to call your agent or the customer service number on your policy documents. Be sure to have all your documentation (photos, videos, notes, receipts, etc.) ready to go, as you’ll likely be transferred to a claims adjuster from here.
The adjuster will ask you for more information about the damage to your roof, which is where the evidence you collected yourself and the documentation from your professional roof inspection will come into play.
Step Six: Talk With an Insurance Adjuster
Once you’re talking with a claims adjuster from your insurance company, they’ll likely ask you several questions about the roof damage, such as:
- When did the damage occur?
- What caused the damage (hail, wind, lightning, etc.)?
- Do you have any documentation or video footage of the damage?
- Do you know when your roof was last repaired or replaced?
- Do you have evidence of regular repairs and annual maintenance?
- What is the approximate age of your roof?
After asking you these questions, the claims adjuster will likely want to schedule a time to come out and inspect the damage themselves. Once they have done so, they will determine how much your insurance company is willing to pay out for the repairs. Then, you can finally start filing your roof claim.
Step Seven: File a Roof Claim
If the insurance adjuster determines that your roof damage is covered under your policy, you can start the claims process by filling out a roof claim form.
This form will ask for more detailed information about the damage to your roof as well as any repairs or replacements that may be necessary. Be sure to fill out this form completely and accurately, as any errors could result in a delay or denial of your claim.
In addition, you’ll need to submit several documents along with your roof claim form, including:
- A copy of your insurance policy
- Your professional roof inspection report
- Photos or videos of the damage
- Receipts for any repairs you’ve already made
- Estimates for necessary repairs or replacement
Once you’ve gathered all this documentation and information, you can submit your roof claim form to your insurance company.
Step Eight: Review Your Claim Payment
After you’ve submitted your roof claim, the insurance company will review all the documentation and evidence you’ve provided. They may also ask for additional information or clarification on certain points in your project estimate.
Once they have everything necessary, the next step is to determine how much they are willing to pay out for the repairs or replacement of your roof. Keep in mind that insurance companies often cover only a portion of the total cost of repairs, so you may be responsible for paying the remainder out-of-pocket.
It’s also important to note that most insurance companies will only pay for repairs up to the value of your home, so if your roof is severely damaged and needs to be replaced, you may only receive a partial payment on the claim.

Step Nine: Schedule Services With a Roofing Contractor
Once you’ve received your claim payment from the insurance company, you can start the process of scheduling repairs or replacements with roofing contractors. You should already have several estimates from different contractors on hand before making a decision, as the cost of repairs can vary depending on the scope of work and the materials used.
After you’ve selected a roofing contractor, they will begin the process of repairing or replacing your roof. Depending on the extent of the damage, this could take several days or even weeks to complete.
Once the repairs or replacement is finished, your roof should be as good as new, and you can rest assured knowing that it’s been properly repaired or replaced by reputable roofing contractors.
Damaged Roofing & Insurance Claims Driving You Crazy?
We’ve got you covered with this in-depth guide and, of course, insurance claims assistance.
If a storm has damaged your roof, don’t wait to make an insurance claim just because you don’t know what to do. Use this guide to ensure that you know how to file a roof claim and get the repairs or replacement that you need, then reach out to our team of knowledgeable roofing contractors.
By following these steps and speaking with the friendly roofing contractors and customer service experts at Best Exteriors, you can make the process of filing a roof claim as smooth and painless as possible. So, don’t delay – if your roof has been damaged during a storm, start the claims process today.