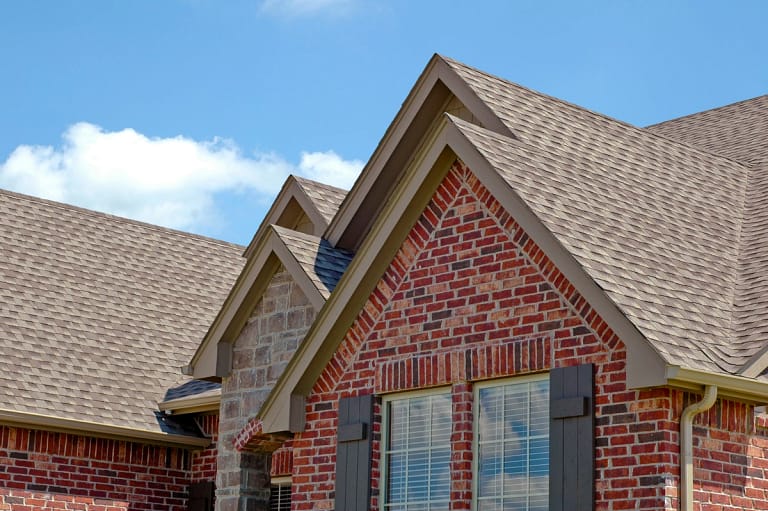
A roof is an integral part of any home, protecting it from the elements and providing shelter for you and your loved ones. However, over time, roofs can deteriorate and require replacement.
Tearing off a roof may seem like a daunting task, but with the right knowledge and tools, it can be a DIY project that saves you money. In this guide, we’ll walk you through:
- The process of tearing off a roof
- Recognizing the signs that it’s time for a replacement
- The benefits of a DIY roof tear-off
- The reasons you might want to leave it to the professionals
We’ll also discuss the average cost of a roof replacement to help you make an informed decision.
Signs That You Need a Roof Replacement

Before embarking on a roof tear-off project, it’s crucial to determine whether your roof truly needs replacement. Here are some signs that indicate it might be time for a new roof:
- Age: The age of your roof is a significant factor. Most asphalt shingle roofs have a lifespan of 20-30 years, depending on the quality of materials and local weather conditions. If your roof is nearing or has exceeded its expected lifespan, it’s time to consider replacement.
- Damaged Shingles: Inspect your roof for damaged or missing shingles. Curling, cracking, or bald spots on shingles are signs of wear and tear. If a significant portion of your roof is damaged, it’s more cost-effective to replace it rather than repairing individual shingles.
- Leaks and Water Damage: Water stains on your ceiling or walls, as well as persistent roof leaks, are clear indications of roofing issues. These problems can lead to structural damage and mold growth if left untreated.
- Sagging Roof Deck: A sagging or uneven roof deck is a serious issue that requires immediate attention. It could be a sign of structural damage, and a new roof may be necessary to ensure your home’s safety.
- Granule Loss: Check your gutters for excessive granule buildup, as this indicates that your shingles are deteriorating. Granule loss can lead to reduced shingle protection against the sun and rain.
- Daylight Through the Roof: If you can see daylight through your attic or roof boards, it’s a clear sign that your roof is compromised. This often indicates the presence of multiple leaks and the need for replacement.
How to Remove Roof Shingles in 6 Steps
Once you’ve confirmed that a roof replacement is necessary, you can start the process of tearing off your old roof. Here are the steps involved in removing roof shingles:
1) Safety Precautions:
Before you begin, ensure you have the necessary safety gear, including a sturdy ladder, roofing harness, gloves, and protective eyewear. Safety should be your top priority.
2) Prepare the Area:
Remove any debris from the roof, such as branches, leaves, and loose shingles. Make sure the work area is clear of obstacles.
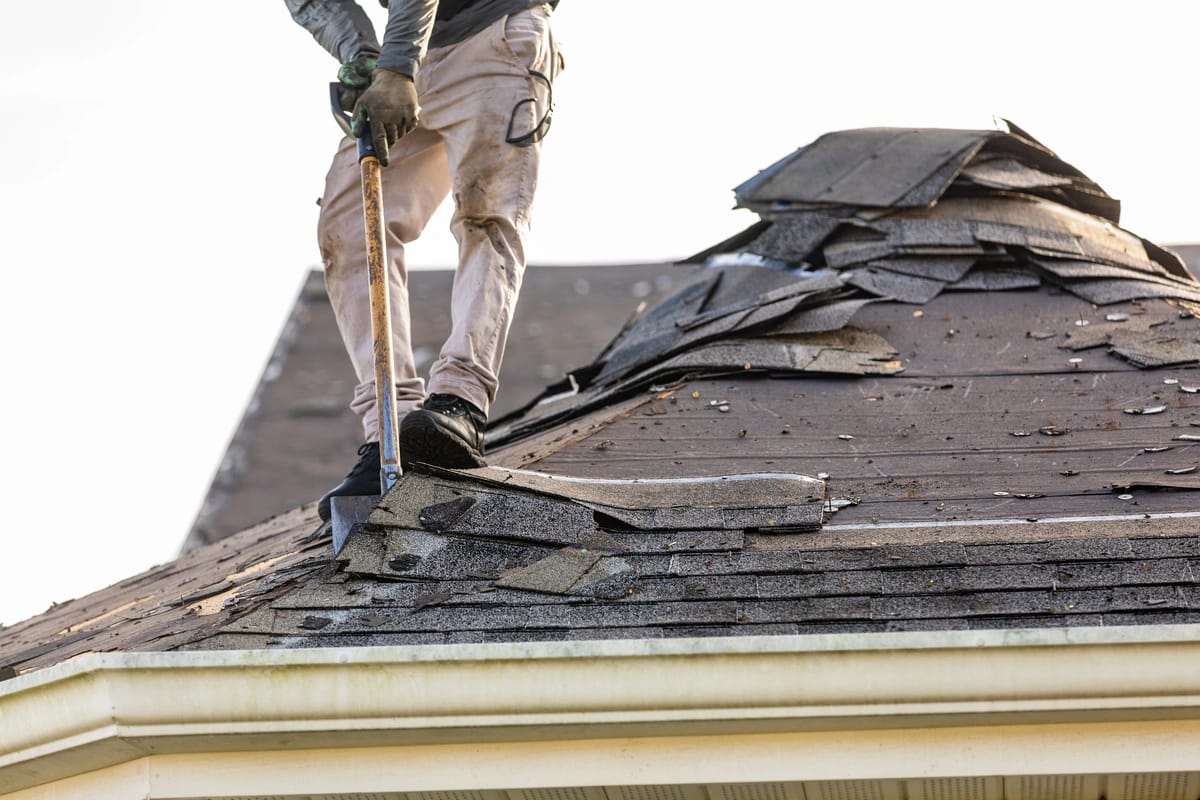
3) Start at the Ridge:
Begin removing shingles at the ridge of your roof, as this is the highest point. Use a roofing shovel or pitchfork to carefully lift the shingles and pry out the nails.
4) Work in Sections:
Divide your roof into manageable sections and work on one at a time. This approach will make the process more organized and less overwhelming.
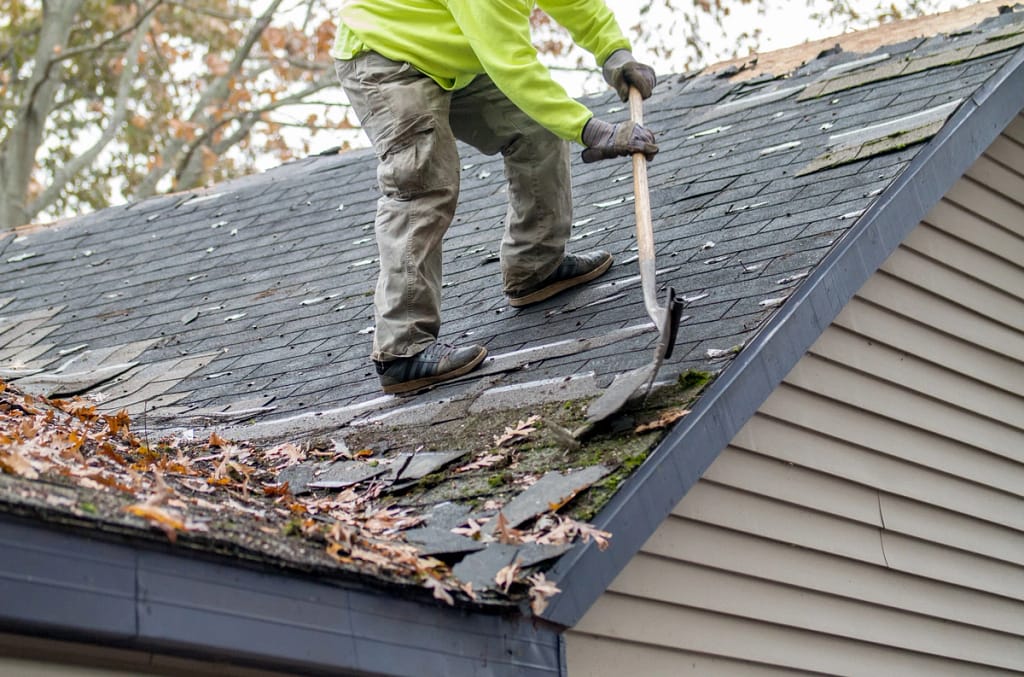
5) Remove Shingles and Underlayment:
As you remove the shingles, also remove the underlayment if it’s damaged or outdated. Inspect the roof deck for any signs of rot or damage and address any issues you find.
6) Dispose of Materials:
Properly dispose of the old shingles, underlayment, and nails in accordance with local regulations. Renting a dumpster or hiring a roofing disposal service may be necessary.
Benefits of a DIY Roof Tear Off
Taking on a DIY roof tear-off project can be rewarding and cost-effective if you have the skills and confidence to do it. Here are some benefits of tackling the job yourself:
- Cost Savings: DIY roof tear-offs can save you a significant amount of money on labor costs. You only need to purchase materials and rent any necessary equipment.
- Sense of Accomplishment: Completing a challenging home improvement project like tearing off a roof can provide a sense of accomplishment and pride.
- Control Over Materials: You can choose the roofing materials, underlayment, and insulation that best suit your preferences and budget.
- Flexibility: You can work on your own schedule and take breaks when needed, making it a more flexible option compared to hiring professionals.
Reasons to Leave it to the Professionals
While a DIY roof tear-off can be rewarding, there are situations where it’s best to leave the job to experienced roofing professionals:
- Safety Risks: Roofing can be dangerous, and working at heights poses a significant risk of accidents and injuries. Professionals are trained and equipped to handle these risks safely.
- Expertise and Quality: Roofing professionals have the knowledge and experience to ensure that the new roof is installed correctly, preventing future issues. They can also identify and address underlying structural problems.
- Warranty Coverage: Some roofing materials come with warranties that may be voided if the installation is not done by certified professionals.
- Time and Efficiency: Professionals have the skills and a crew to complete the job efficiently, reducing the time your home is exposed to the elements.
Average Cost of a Roof Replacement
The cost of a roof replacement can vary widely depending on several factors, including the size of your roof, the materials you choose, your location, and the labor costs in your area. On average, you can expect to pay anywhere from $5,000 to $15,000 or more for a standard asphalt shingle roof replacement. Here’s a breakdown of some cost factors:
- Roof Size: Larger roofs will naturally cost more to replace than smaller ones due to the increased materials and labor required.
- Roofing Materials: Different roofing materials have varying costs. Asphalt shingles are generally more affordable than metal, slate, or tile roofing options.
- Roof Pitch and Complexity: Steeper or more complex roof designs may require additional labor and safety precautions, increasing the overall cost.
- Location: Labor and material costs can vary by region, so where you live plays a significant role in the final price.
- Removal and Disposal: The cost of tearing off the old roof and disposing of materials should be factored into the total.
- Additional Features: Any additional features such as skylights, chimneys, or ventilation systems will add to the overall cost.
- Roofing Contractor: The contractor you choose will also impact the cost. High-quality contractors may charge more but provide better results and warranties.
It’s essential to obtain multiple quotes from reputable roofing contractors in your area to get a more accurate estimate based on your specific needs and preferences.
Work With A Reputable Roofing Company
Tearing off a roof is a significant project that requires careful planning and consideration. Recognizing the signs that your roof needs replacement is the first step, followed by understanding the steps involved in removing roof shingles. By making an informed decision and taking the necessary steps, you can ensure your home has a strong, reliable roof for years to come.
Contact Best Exteriors today to set up a free consultation for your roof tear off!