When you are in a time-sensitive situation, it is important to know how to protect your home before the damage spreads. While most roof repairs will require a roofing professional, busy schedules mean that you could be waiting days or weeks to get the help you need. Tarping your roof is the best temporary fix to prevent additional damage to your home.
Luckily, tarping your roof is a relatively simple task to do yourself. If you’re looking to learn how to tarp a roof, we’ve got all the information you need to ensure that it is done correctly.
Signs of a Damaged Roof
Think your roof might be damaged? Here are some signs to look out for.
- Water Damage on the Ceilings and Walls – Are you seeing brown or yellow stains pop up on your walls or ceilings? This is a sure sign that water is getting into your home. Ceiling cracks, mold, and bowing are also indicators that can tell you that there might be water damage.
- Missing Shingles – Shingles are your roof’s first line of defense against the elements. When shingles are missing, water can permeate through the layers of your roof, leading to water damage.
- Smells In Your Attic – Smelling a must, mildew scent in your attic? Water might be entering your home through the roof. Mold thrives in moist environments, so that musty smell can be indicative of a larger problem. Be sure to check the items you store in your attic for additional signs of water damage.
- Moss – If you’re noticing moss growing on your shingles, you might want to check your roof for damage. While moss may seem harmless, as it grows, it can displace your shingles, allowing water to pass through to the underlayers.
- Leaky Roof – Perhaps it goes without saying, but if you notice water dripping from your ceiling, you have a problem.
Why Should I Tarp My Roof?
Your roof protects your home from damage from the elements. Leaving damage exposed can cause it to grow and create even bigger problems.
A roof tarp will provide temporary protection against the elements and prevent further damage. Additionally, covering any damage with a tarp ensures that pests and insects do not have a way to enter your home.
Will Tarping My Roof Protect it Against Bad Weather?
If you live in an area that is prone to severe weather, such as hurricanes or hailstorms, it is a good idea to have equipment on hand to tarp your roof.
Preventative tarping can stop roof damage before it happens. If you already have damage, adding a tarp to your roof will protect your home from a rainstorm, snow, or other types of inclement weather.
Can I Tarp a Roof by Myself?
Absolutely you can!
While all roofing work comes with a certain amount of risk, tarping is a relatively simple job that almost anyone can do. Still, it’s important to take all possible safety precautions. It’s a good idea to ask a friend or family member to assist you with the tarping process.
Check out the video below to learn more about DIY tarping.
Does Tarping a Roof Damage It?
Unfortunately, tarping a roof will cause some damage. Most tarp placements will require you to nail it to your roof, which can create holes or cracks in your shingles. These will need to be assessed and replaced when a roofing contractor comes to fix the damaged area of your roof.
What Size Roof Tarp Do I Need?
In general, you want to choose a tarp that is a few feet larger than the damaged area you are trying to cover. Be sure to measure the damaged area of the roof before purchasing a tarp so that you know what size you need. You can purchase tarps at your local hardware store.
What Equipment Do I Need to Tarp a Roof?
Before you get started on roof tarping, you’ll want to make sure you have all the equipment you need!
- Tarp
- Tape Measure
- 2×4 Wooden Boards
- Proper Safety Equipment (gloves, goggles, etc.)
- Ladder
- Drill
- 2 in. Screws
How to Tarp a Roof: 10 Steps to Follow
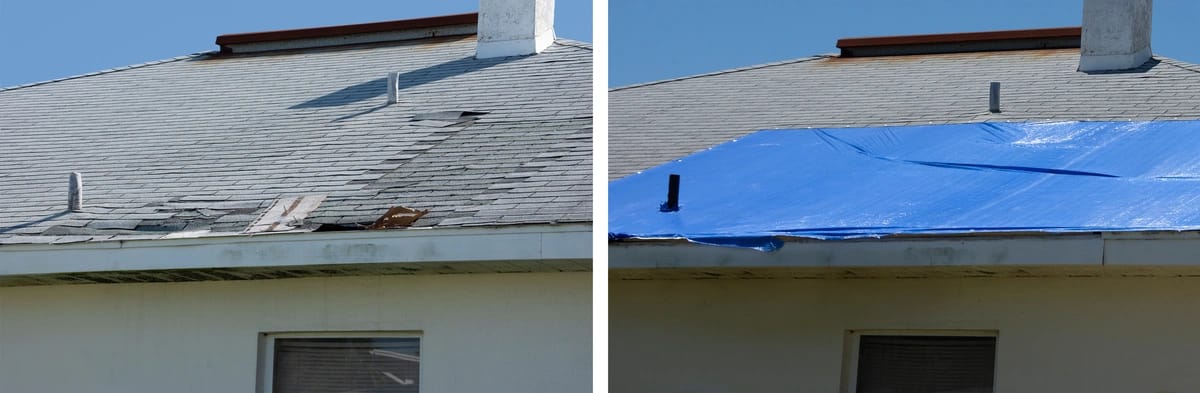
- Assess the Damaged Area – Carefully assess the damaged area of your roof to see how much you will need to cover. Avoid walking across the damaged sections.
- Take Photographs – For insurance purposes, you’ll want to make sure you have plenty of pictures of the damaged roof before adding your roof tarp
- Clear Debris – Using a broom, clear all debris from the area that you are planning to tarp.
- Unfold Tarp – Unroll your tarp, preferably with help from someone else. Remember, it is easy for tarps to blow away in the wind, so make sure that you have a plan to hold it steady!
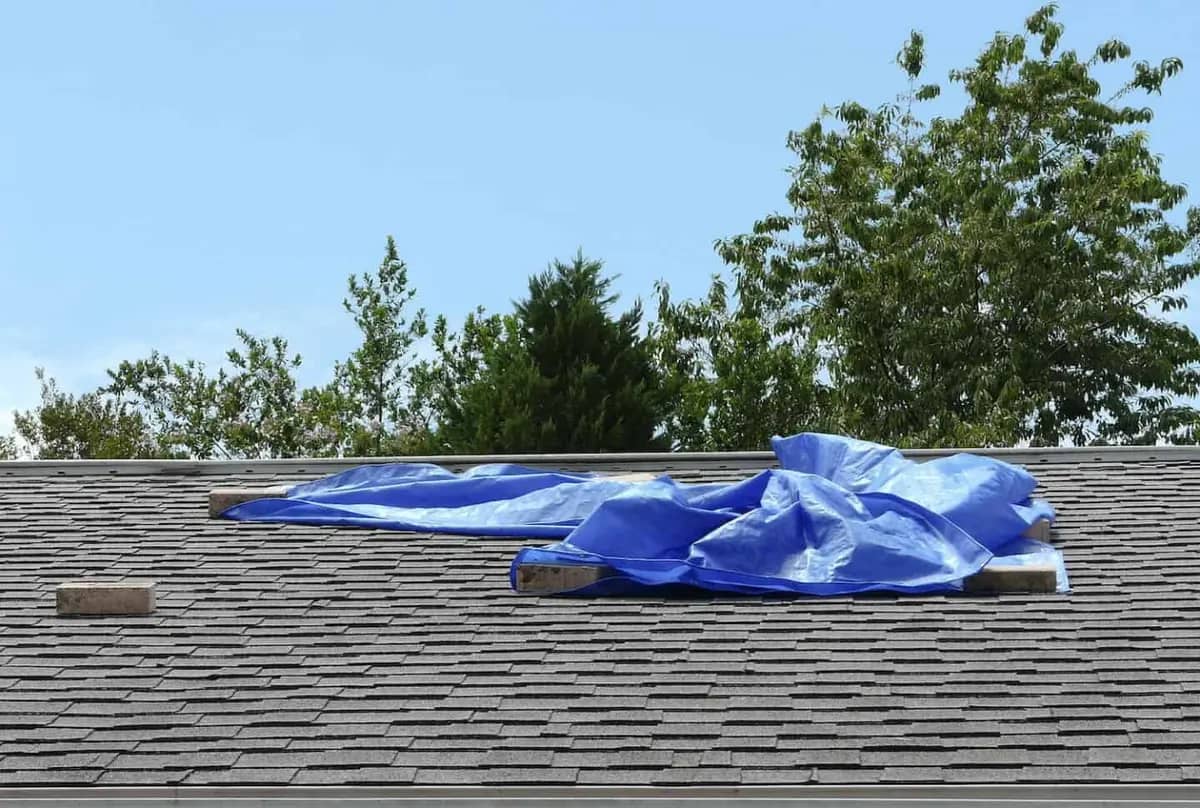
- Secure the Tarp – Wrap the edges of the tarp around a 2×4 wooden board. Using a screw gun, screw through the tarp and the board into the roof using 2-inch screws.
- Adjust for Chimneys – If you have a chimney in the middle of the damaged area, be sure to cut out a space in the tarp for it. Try to cut out a space as close to it as possible.
- Secure Overhang – Be sure to wrap any overhang in a 2×4 and screw that to the roof as well.
- Call a Professional – Once your roof is protected, be sure to call a professional to schedule a permanent repair.
While tarping a roof is effective, it’s important to remember that it is a temporary measure. It is important to have a professional assess the damage as soon as possible.
When to Call a Roofing Professional
Still not feeling confident about how to tarp a roof? Call your local roofing professional. Oftentimes, roofing companies will offer to come tarp your roof if you agree to wait until they are available for a repair appointment. Best Exteriors offers knowledgeable and timely roof repairs and can answer all your questions. Contact us today to learn about your roof repair options!